Monday, April 27, 2020

The Greenleaf Mckinley: Nursery

I have finally finished the nursery for the Mckinley!   It was a long time coming!!!!  

I wanted to make my own crib, but struggled.  My first attempt wasn't perfect and that annoyed me! 
 And then I ran out of patience and time. It was on the agenda for quite some time, but then I saw this little gem of a crib in an antique store.  I was in love!

I would have preferred pink....or rather a green...but I knew that I could make blue work.  (Mainly I just ignore the blue!)
Once I got the crib, I was ready to sail....or so I thought!  But I just kinda sat and stared at the room....until I went to a dollhouse store and found a few more pieces of furniture!   THEN I was ready to get this room completed!  So without further ado, let me give to you.....the Nuresery!


It was a joy to complete this rom.....Everything, from the toys in the toy chest to the pictures on the wall was fun!  I know that I will continue to add bits and pieces to this room as time, money and opportunity allow.  But I am in love with my nursery!


Sunday, April 26, 2020

Expanding my Miniatures

I have decided to expand and play a bit with creating videos solely for the purpose of miniatures.  Up until know I have been creating short miniature videos showing off my work and putting them onto my weight loss/life youtube channel.  But I have decided to make a miniature channel.  I don't know how this is going to go over.  Sometimes just the sheer act of making videos for my weight loss channel is overwhelming.  But I feel really drawn to this....so I decided to roll with it!  So here we go!

My channel will feature my projects.  Sometimes it will just be a finished project.  Sometimes it will be a project that I am building.  Sometimes it will be videos of me creating bits and pieces for my projects.  I am very excited, but nervous.  I am a total amatuer and as thus know that this will be a learning experience.  But how fun to watch my skills grow as the videos progress!!!

So without further ado.....my first video and my trailer for the channel!


Sunday, April 19, 2020

The first Room: Stone House Quilts

I was so excited to get a good bit of my construction completed on the Stone House Quilt Shop but I was nervous.   I had little to no furniture for this project and I had vowed to complete this project with as little (Preferably none a all) financial expenditures!  Could I do it??  This is where I was going to have to be creative! 

Miniature Quilt Shop Room Number One

I did have a small corner cupboard piece in my stash that I had purchased years ago for a previous project that just didn’t work at that time.   I decided to pop that into my first room.  


Not bad...but I had a long way to go!   I also didn’t have many more and didn’t want to use existing pieces.  I want this to be a miniature dollhouse completed on a ‘dime’.  So I started to work.   I had some heavy cardboard that came with some fabric that I purchased (for face masks amidst the Corona Virus Pandemic).   I eyeballed my sizes and cut out two round pieces.   I knew that I wanted to make a round display for bolts of fabric.  Literally designing and building as I went, I created two display cases!   I painted them a nice gray.  I wanted something neutral...and gray is what I have!   They don’t look like much yet...but give me some more time!


Next up was a table/counter for cutting fabric.   I measured and decided on my size that I needed.  I used some matte board that I had in my craft closet.  I made it with actual drawers. I sat it into place...it was WAY too big!  

Back to the drawing board I went!  I built a pared down version.    This one with false drawers.  (Hmmm night I be regretting that decision already?)


Oh that is MUCH better!   In terms of size at least!   In that picture it still needs drawer knobs...but I’ll get there....I promise!!

I knew I wanted to display spools of thread on narrow shelves on a wall.  I have the shelves cut and painted...

I actually have five shelves cut and painted...I am not sure how many will be used in this location. It will depend on how it comes together after I finish my spoils of thread and put them into place!

Did I say spools  of thread?   Why yes.  I am in the process of making spools of thread.  The process is ongoing ...so no big reveal on that...yet.   But a sneak peak...

I have also been working on some quilts and projects to hang on the walls of my quilt/fabric shop!  

I know, I know, I know.  I am a long ways from putting it all together...but I just couldn’t  resist!!!!!

Yes I have a bin of ‘fat quarters’ on the cutting table...which now has knobs!  (See, I told you it would have knobs soon!)  It is coming together....well this one room.  The rest of the house/building is still empty!

I am having the time of my life as I work on my miniature quilt/fabric shop!   I am loving the vibrant  colors.  I am happy with the way things are looking as I set them into place!    I am happy with the lack of expenditures to complete this project!   I am loving this process!!!


Monday, April 13, 2020

The Mini Mansion: A tour

The mini mansion has been done for a while.  It was a fun little project that filled in some of my down time between working on the log cabin and the McKinley.   I learned so much during the process.  I am happy with the results and hope you enjoy the tour as much as I have enjoyed building and filming this miniature house!

This house is set at the turn of the century, 1900.  As always, I don't believe any dollhouse is every truly done....but I am going to go out on a limb and call this house done.  (Until I find something else that would fit perfectly!)


Monday, April 6, 2020

It's moving fast now!!!!! The Stonehouse Quilt Shop takes Shape

Oh my word!  I have been such a worker bee in terms of my dollhouse progress!  My miniature projects are coming together.  I am seeing progress almost on a daily basis and it is so exciting!

So today we are going to talk about the Stonehouse Quilt Shop.  The last time I checked in on this progress I was still working on putting up the stone on the outside walls. But boy oh boy has more happened since then.

I decided that an old stone house definitely needed to have hard wood floors.  So I jumped back into laying my flooring in the house.  I again chose to do craft sticks (akin to a popsicle stick) to lay my floor.  It was/is tedious work.
Once the flooring was laid, I immediately set about for the next step.  What was the next step?   The sanding process.   I learned very early on that the craft stick method works great...but will not look realistic until it has been sanded. So out came the sandpaper!


You can see the difference in appearance between the floor that I was sanding and the unsanded floor below.  It makes a HUGE difference and is a step you do NOT want to skip!

Once again when I finished that step I didn't slow down one bit. I pulled out my stains and I got to work!  I started with a pre-stain and then decided upon a Cherry stain.  It looks fantastic!

Next up was the steps.  I was lucky in that I had purchased a set of stairs years earlier.  I had actually  purchased them for the log cabin project...but that house was not at all scale, so the stairs just sat in storage....until now!
I immediately turned to the trim work.  I first had to recreate a few pieces that were missing when I purchased this house.  Not a problem....a little bit of glue and some pieces of wood and I was in business. 

 Paint was also needed. So that was a quick fix also! 

I was so excited to hang my shutters and ran into a problem.  I should have put the shutters up before the stone due to the difficulty of gluing the shutters to the uneven stone surface.  I had to go to the drawing board and really think. 
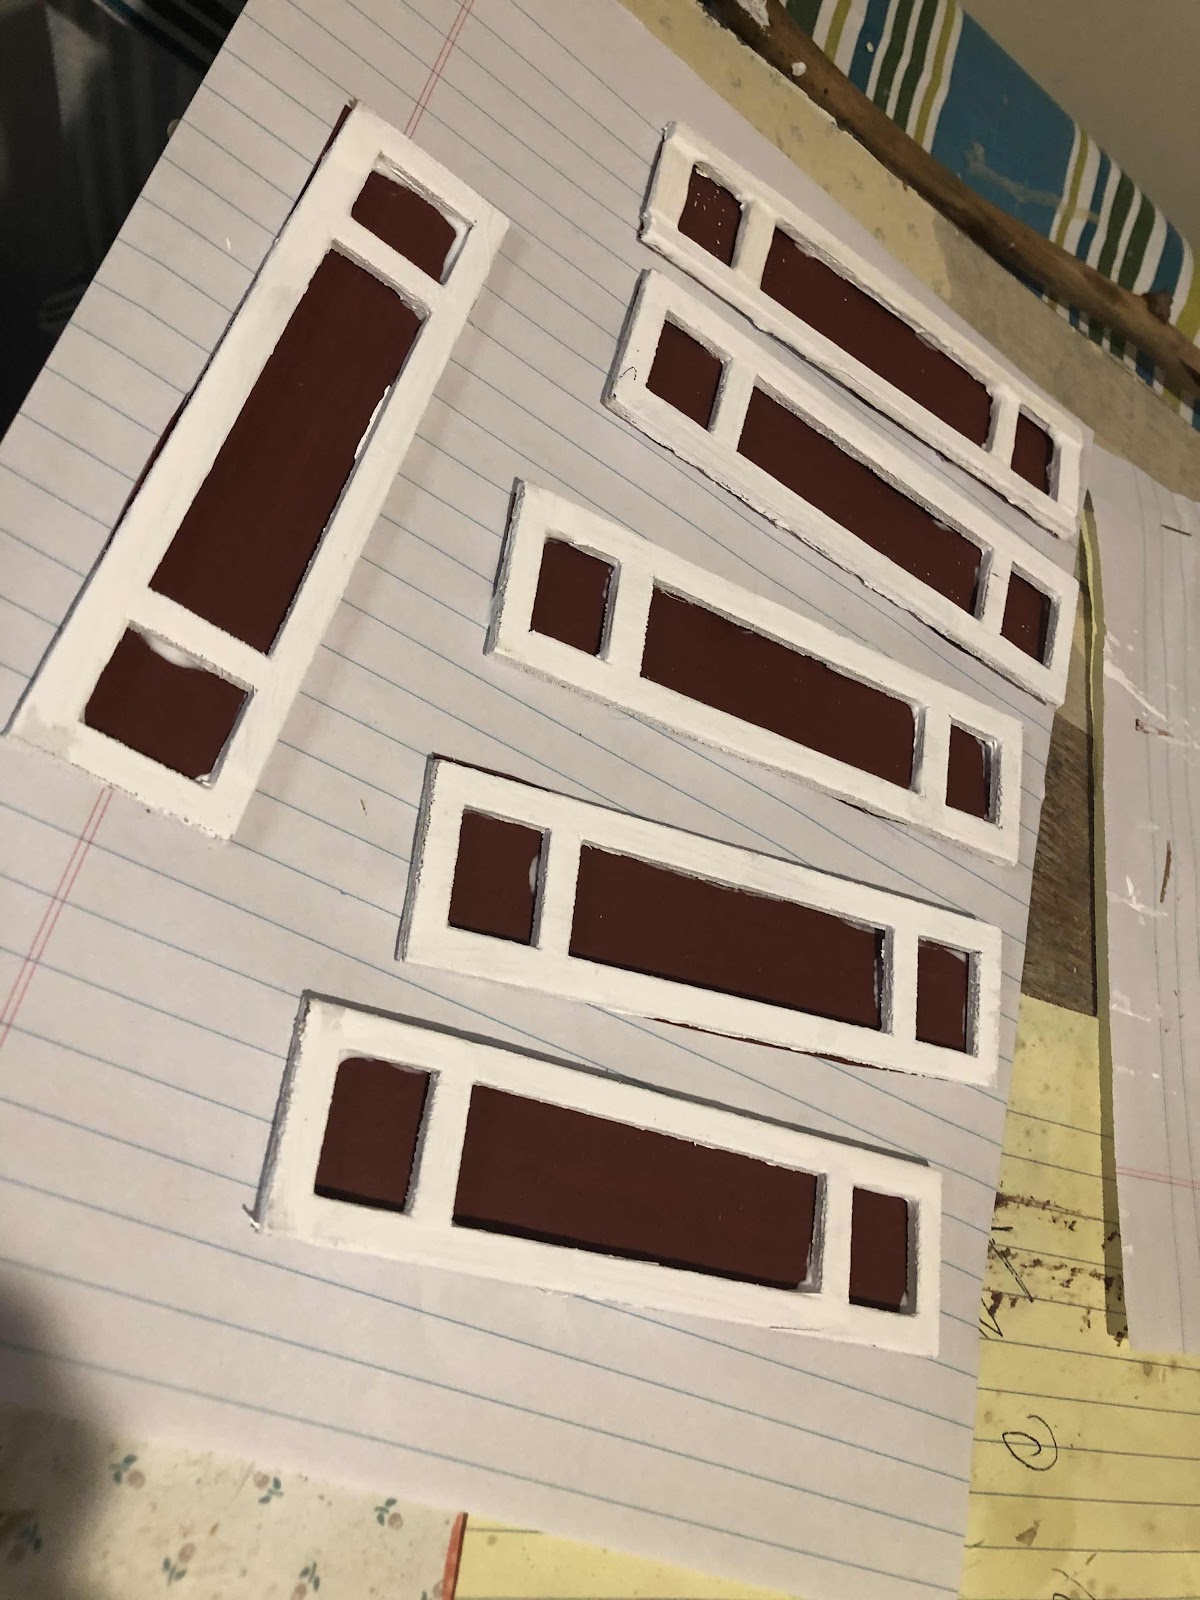
I did the only thing I could. I decided to make simple hinges out of Q-tips and posterboard!  I crossed my fingers and hoped that they would work.  But first I needed to paint them!
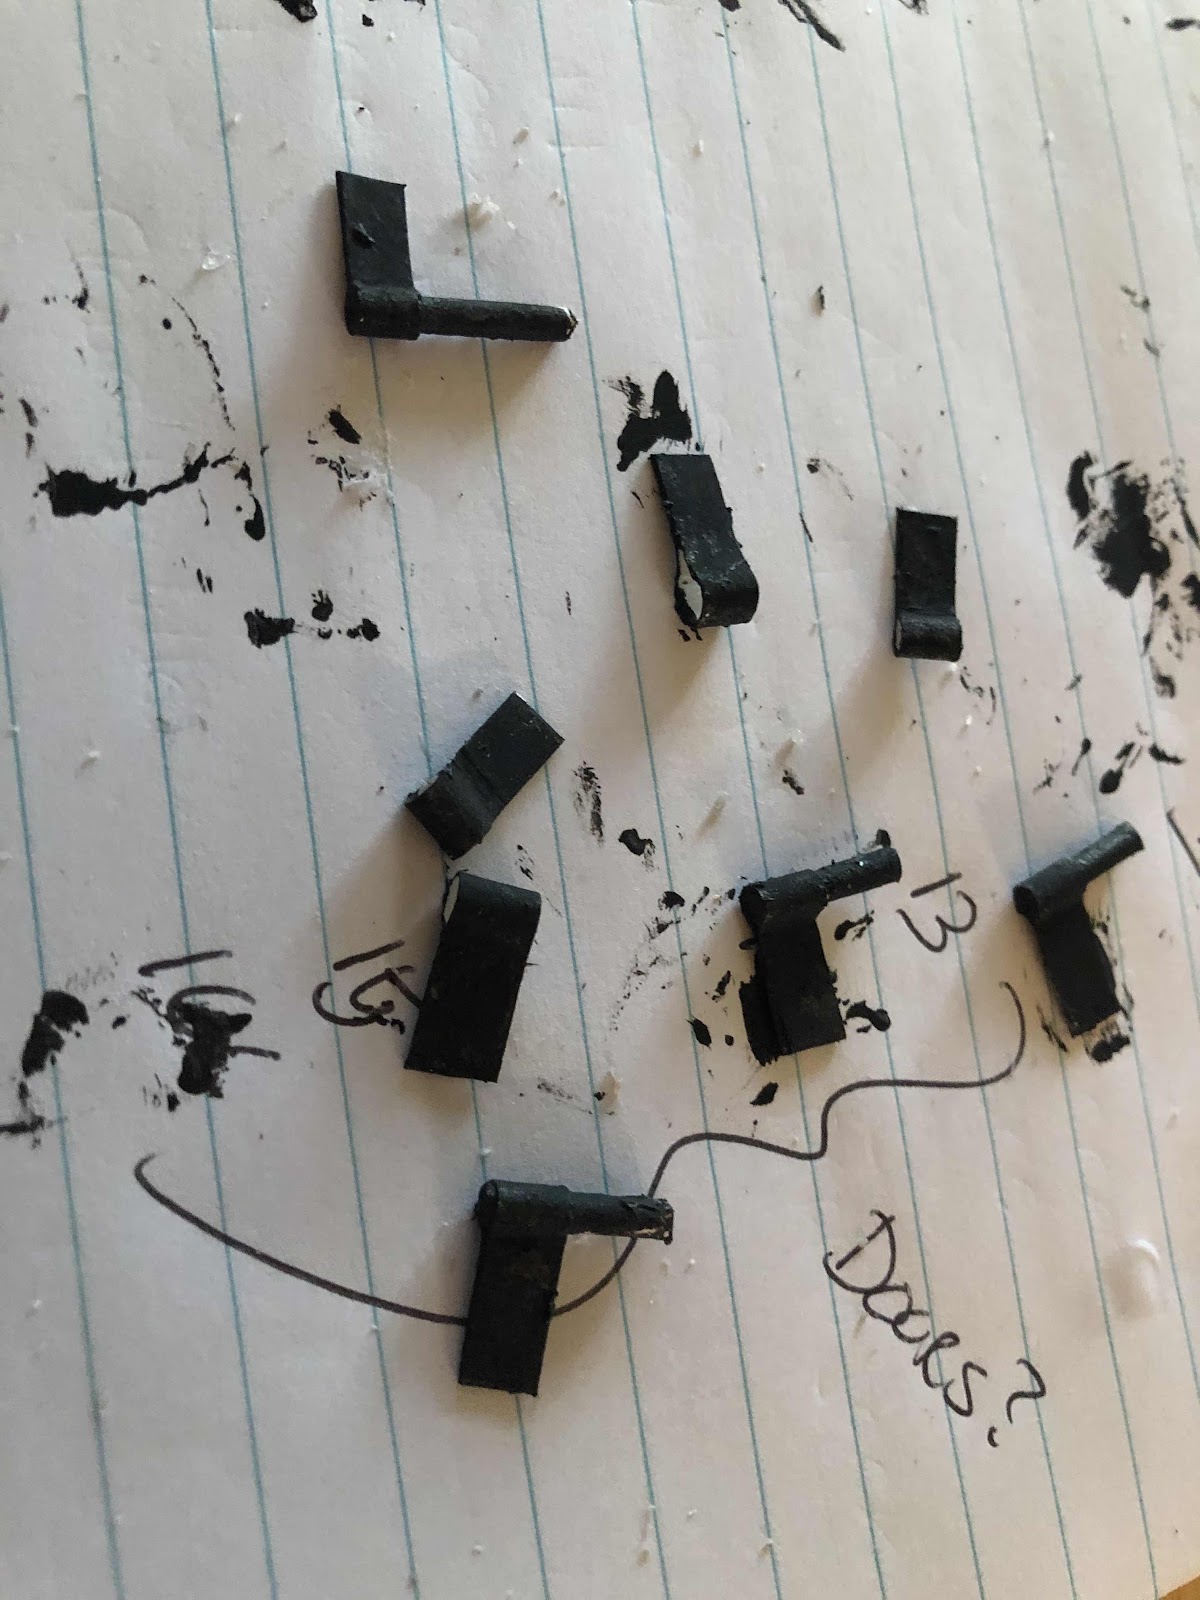
And finally it was time to hang the shutters.  
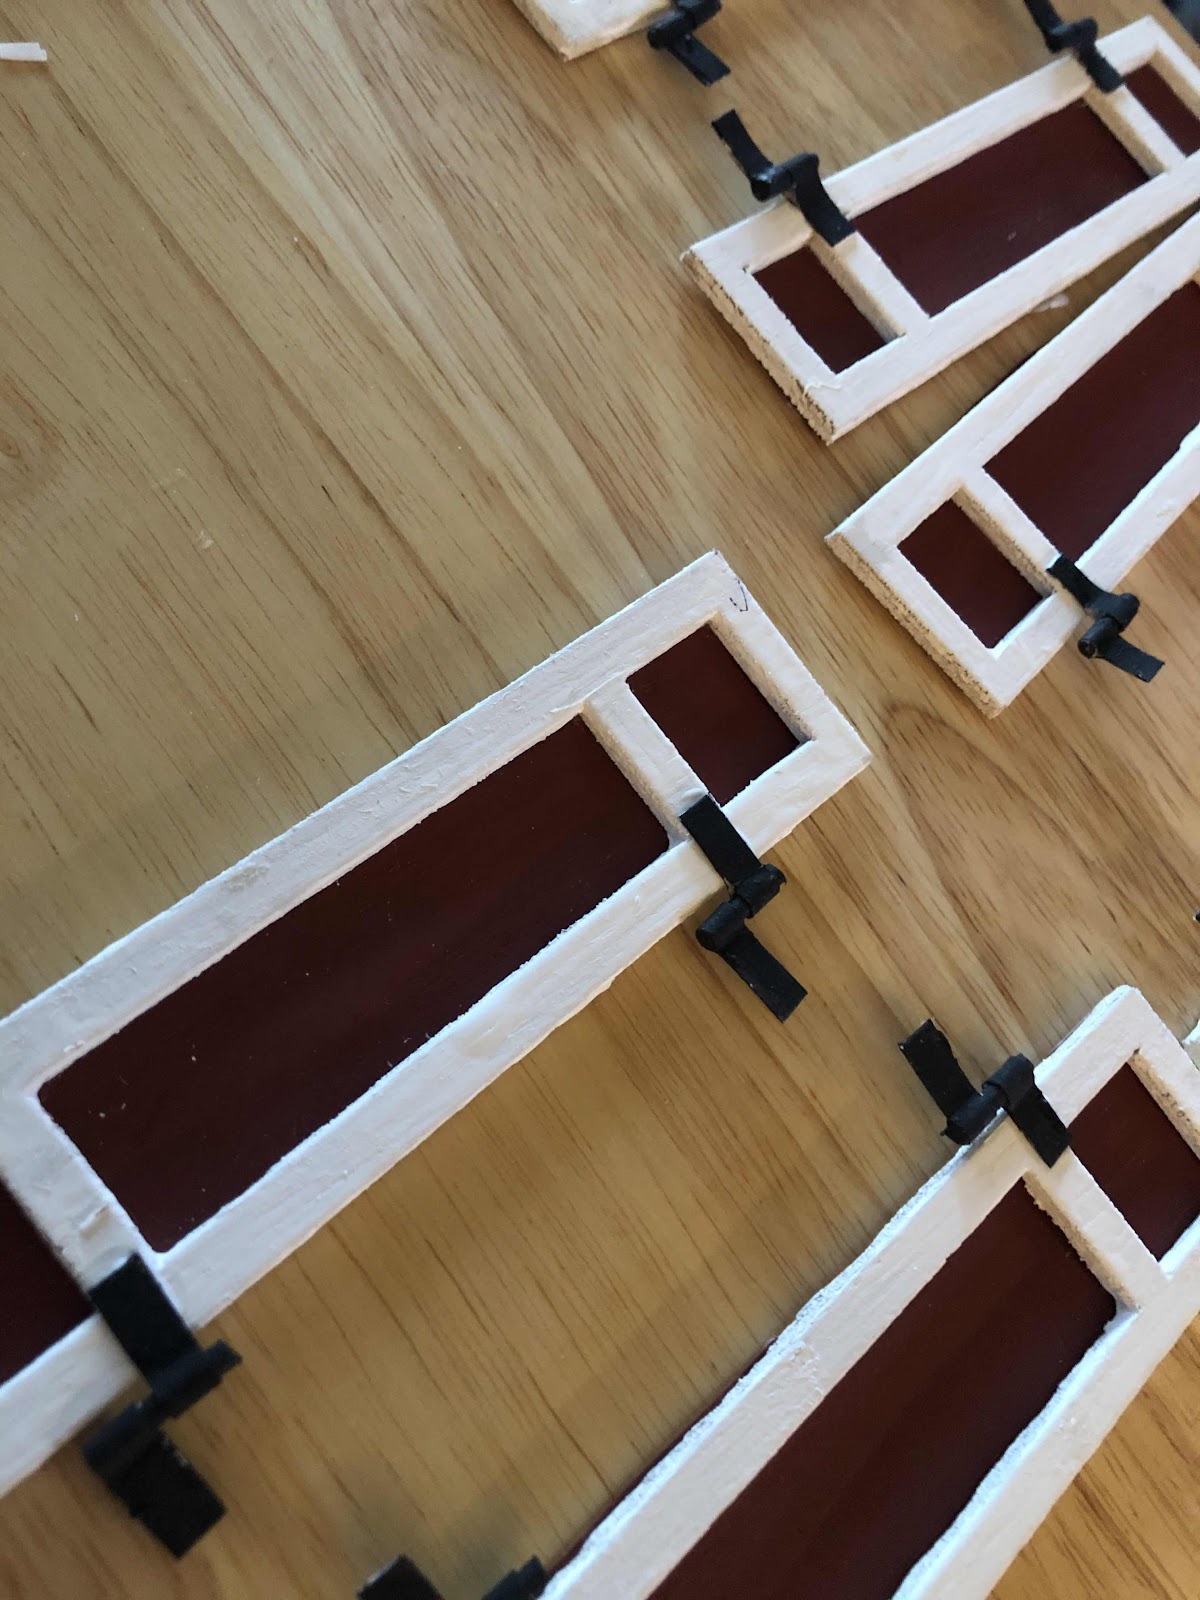
And boy was I giddy with excitement when I saw the finished project.  The hinges and three dimensional appearance makes it look SOO much more realistic!!!!
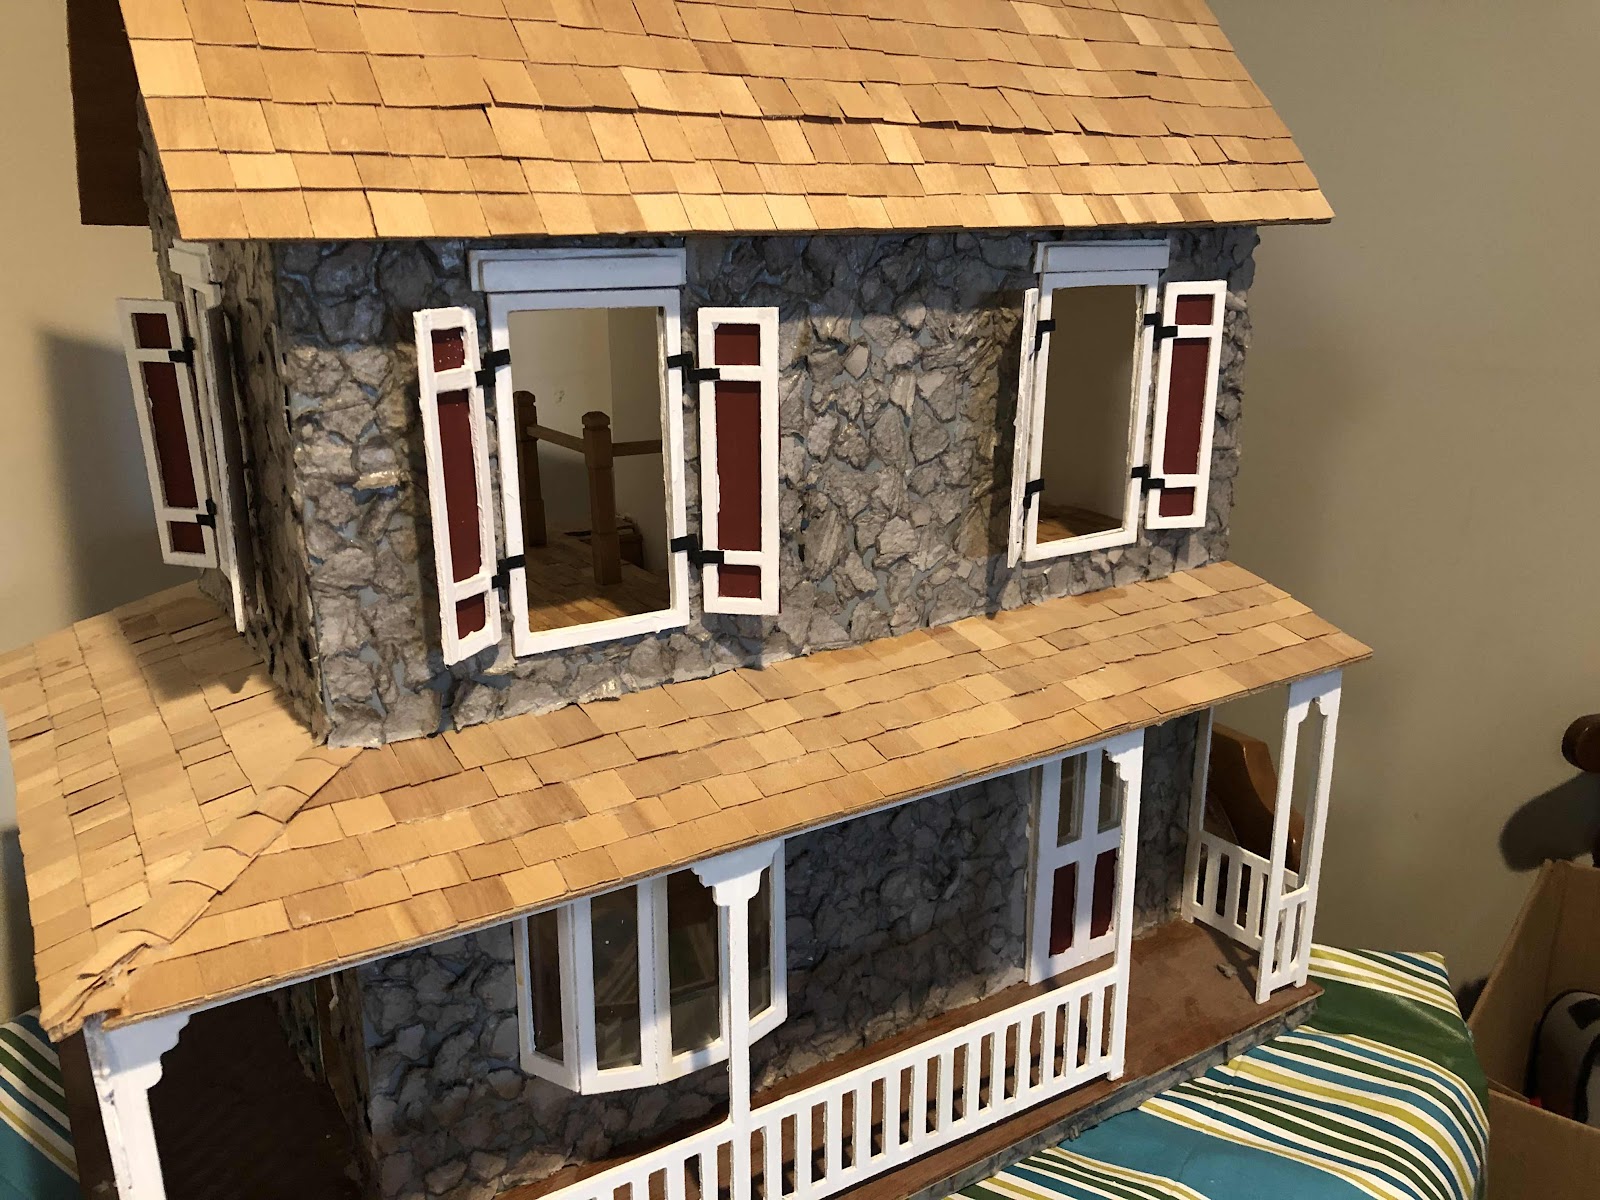
Wow.....what an update!  That is a whole lot of  miniature progress for one post!!!!! I laid, sanded and stained floor, installed a staircase, recreated some shutters, did some painting and made hinges and hung some shutters!   I am even more excited about the next steps.  I still have more trim to hang and then I will be able to start focusing on the interior......I have some ideas....