My dollhouse needs radiators! So I set to work!!!
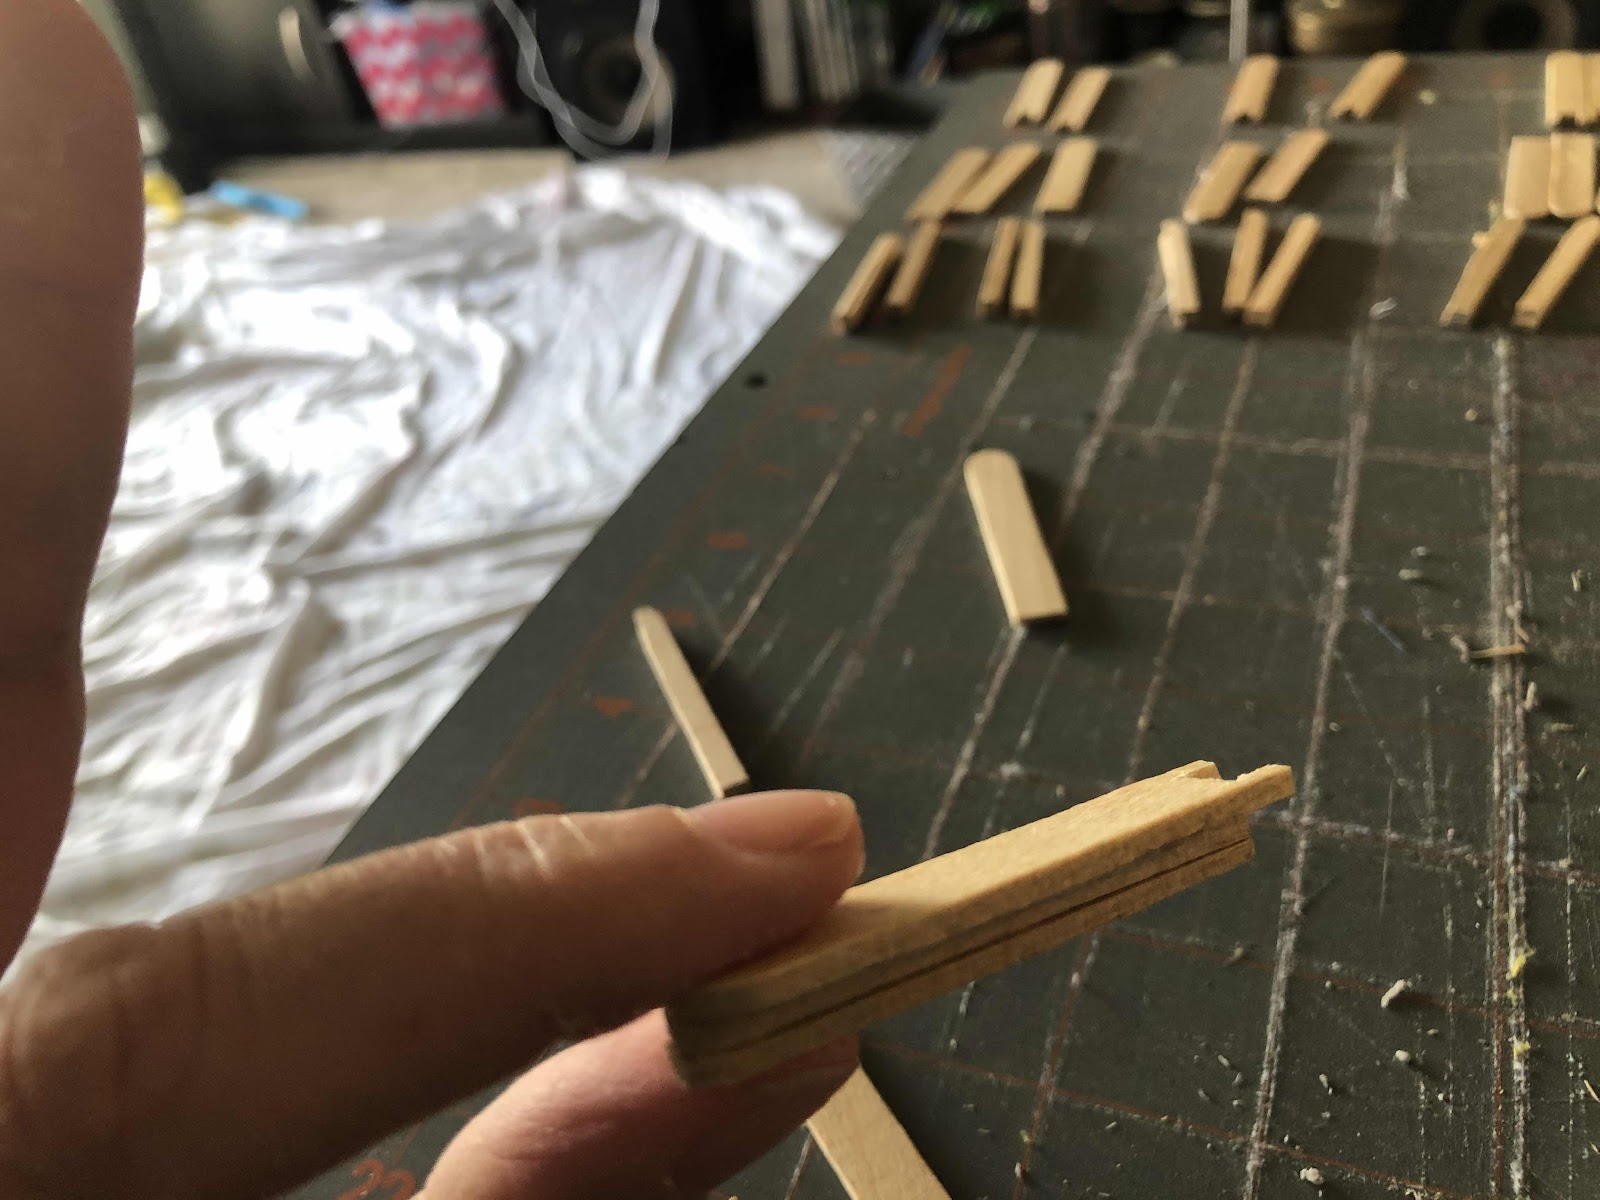
I decided to use popsicle sticks (craft sticks). I started to simple cut and eyeball the measurements I make a prototype. Once I had the basic idea I had the base pieces I would need to make a radiator. The number of pieces would be determined by how long I wanted the radiator to be.
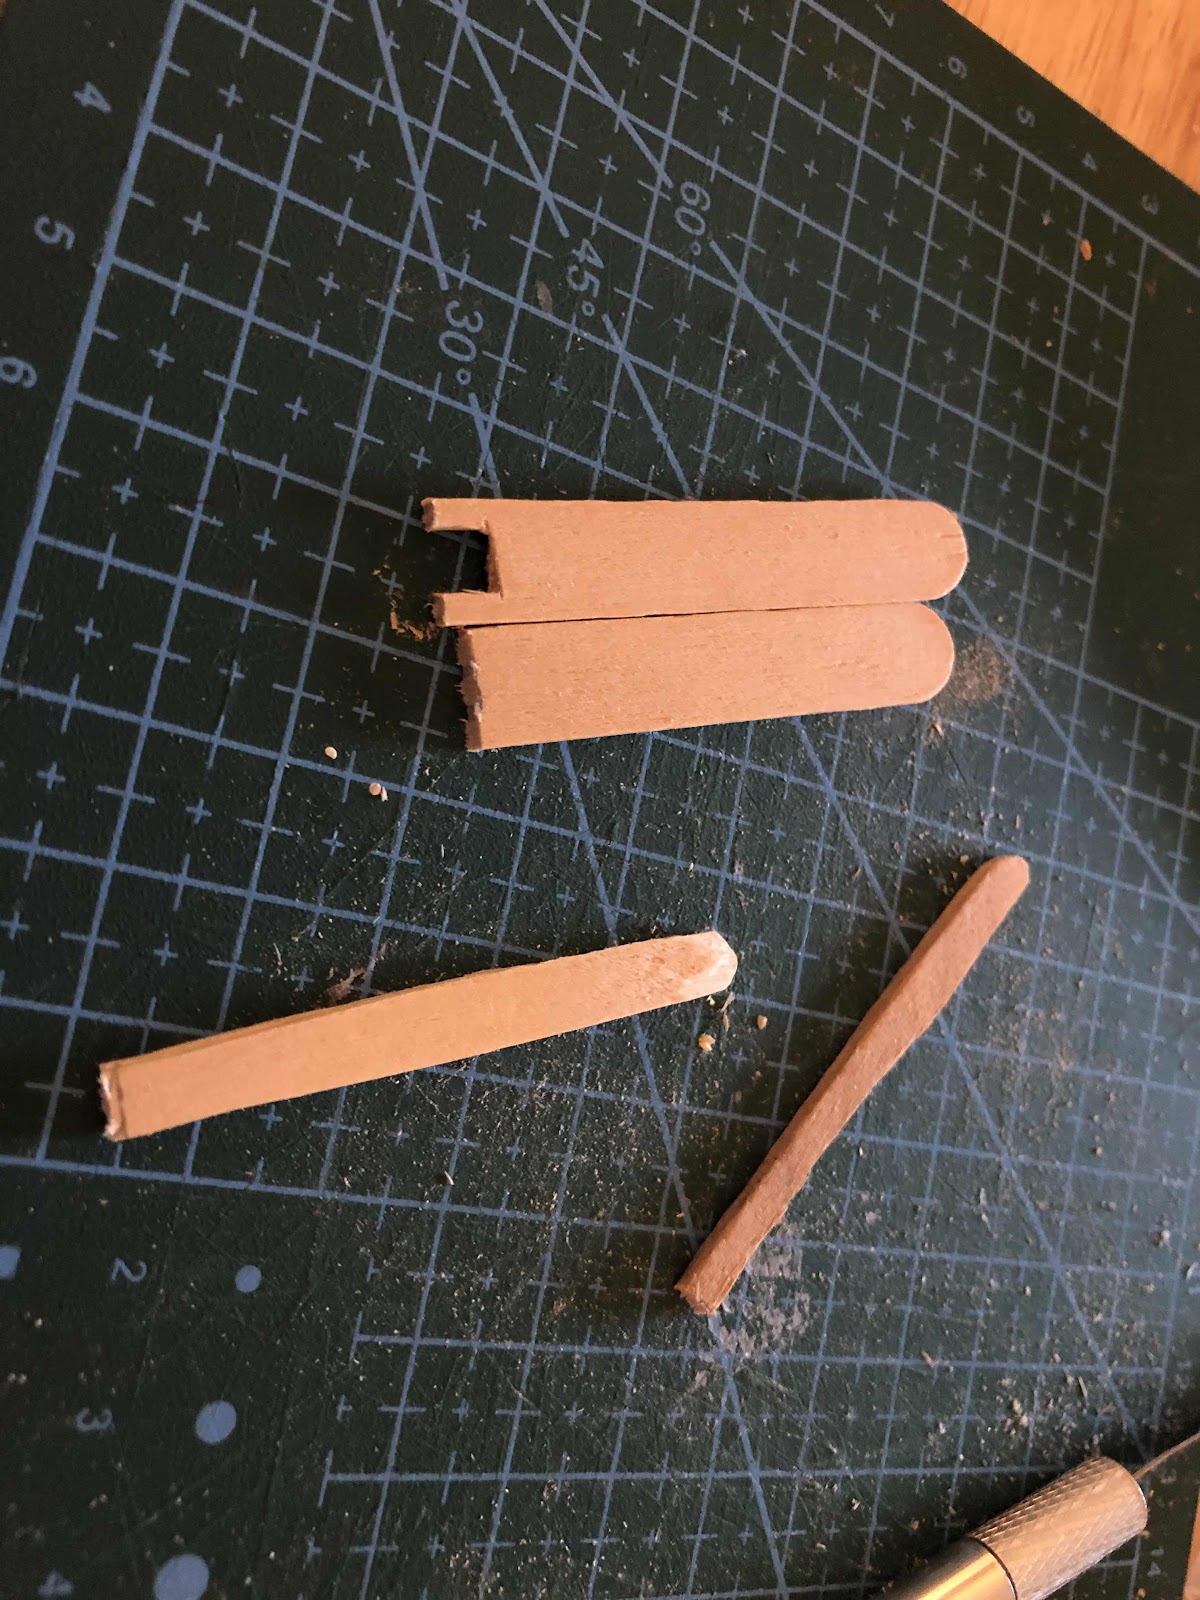
The most annoying piece to work on was the two end pieces for each radiator as I pretty much carved two legs. Not really difficult...just time consuming.
The end pieces I literally eyeballed the height and then checked how it looked in the actual dollhouse!

Once I had my end pieces cut I knew exactly how long to cut the middle portion of the radiators. They needed to be just a tad shorter....I took the length of the end piece and subtracted the measurements for the legs and I had the perfect size. I then took some of those pieces and cut them down the middle to create narrow pieces. I also took the time to round over the tops of the narrow pieces by cutting them a bit and sanding them a lot. How many did I cut? Well that depends on how long you want your radiator to be.
I decided to mass produce my radiators so I just sat down with my exacto knives and small miter saw and started cutting. Finally I had enough pieces cut and I was ready to start the assembly process.

As you can see above I used the three basic pieces that I described earlier. The two end pieces for each radiator (the ones with legs) the wide internal pieces and the small narrow pieces.
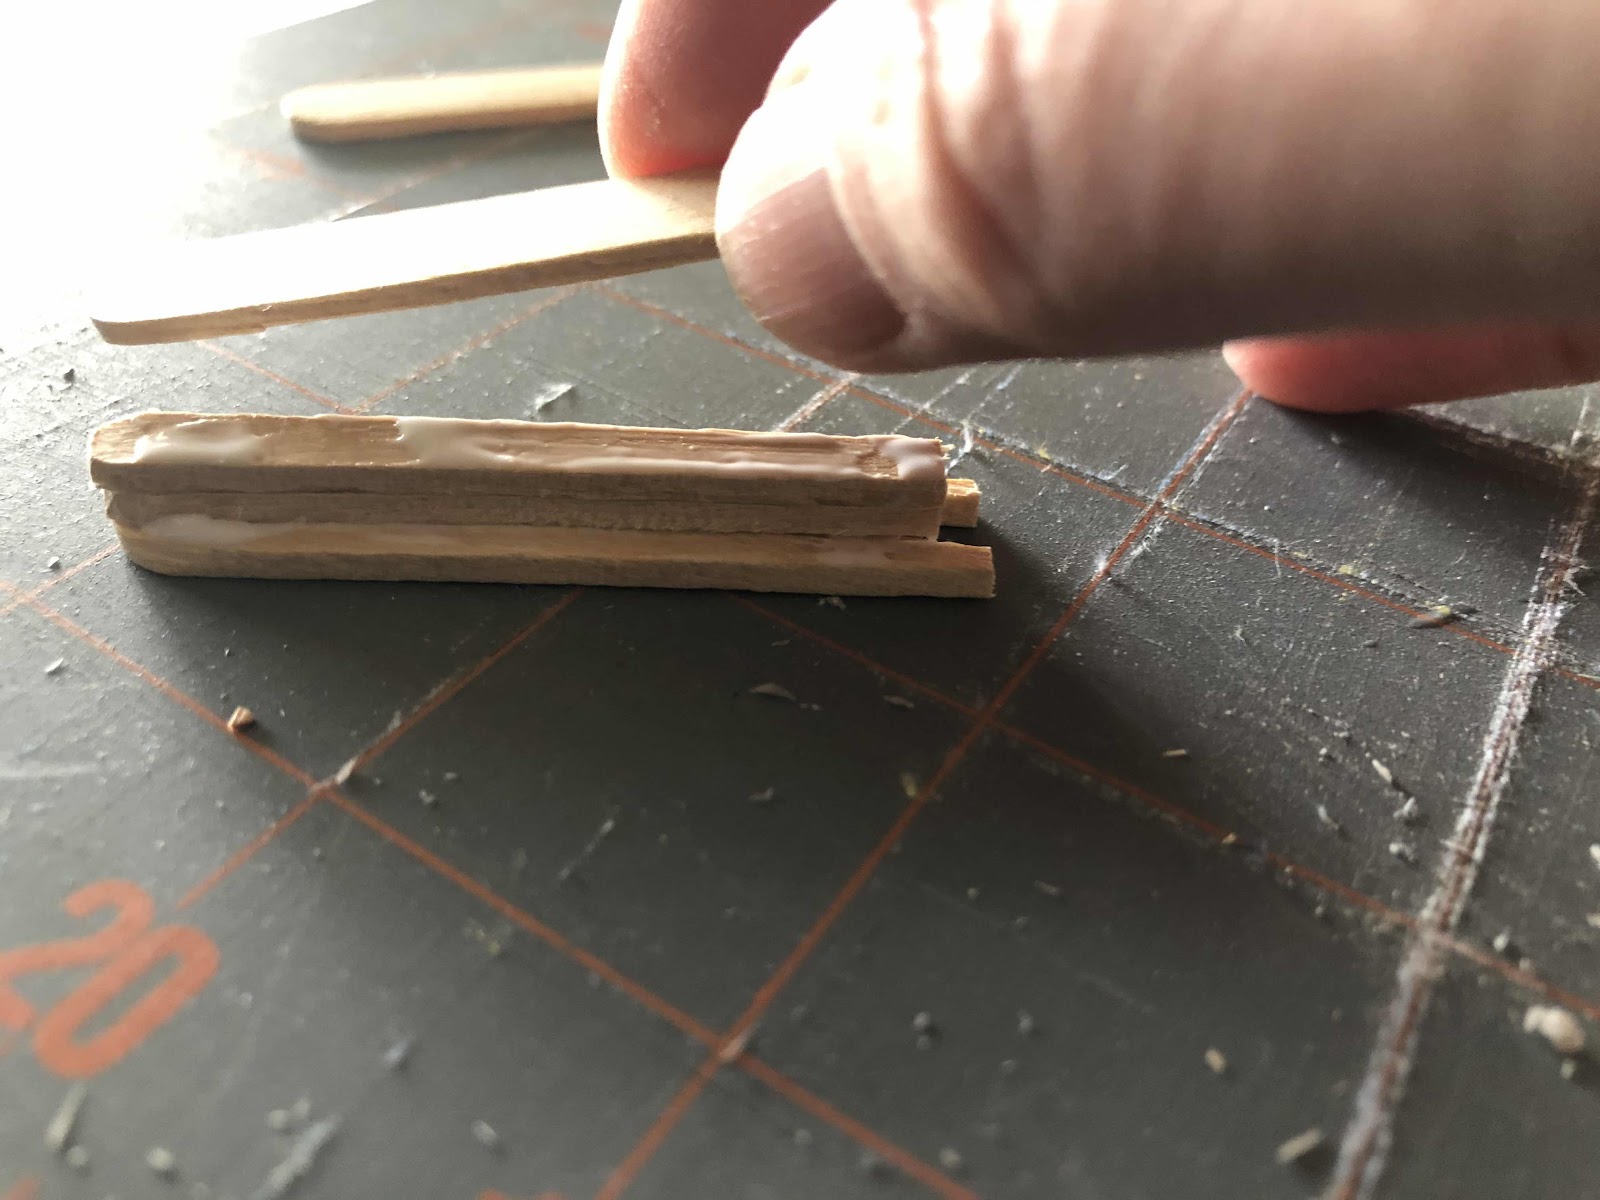
I started by taking my small narrow pieces and gluing two together. I needed theses pieces to be a bit thicker.
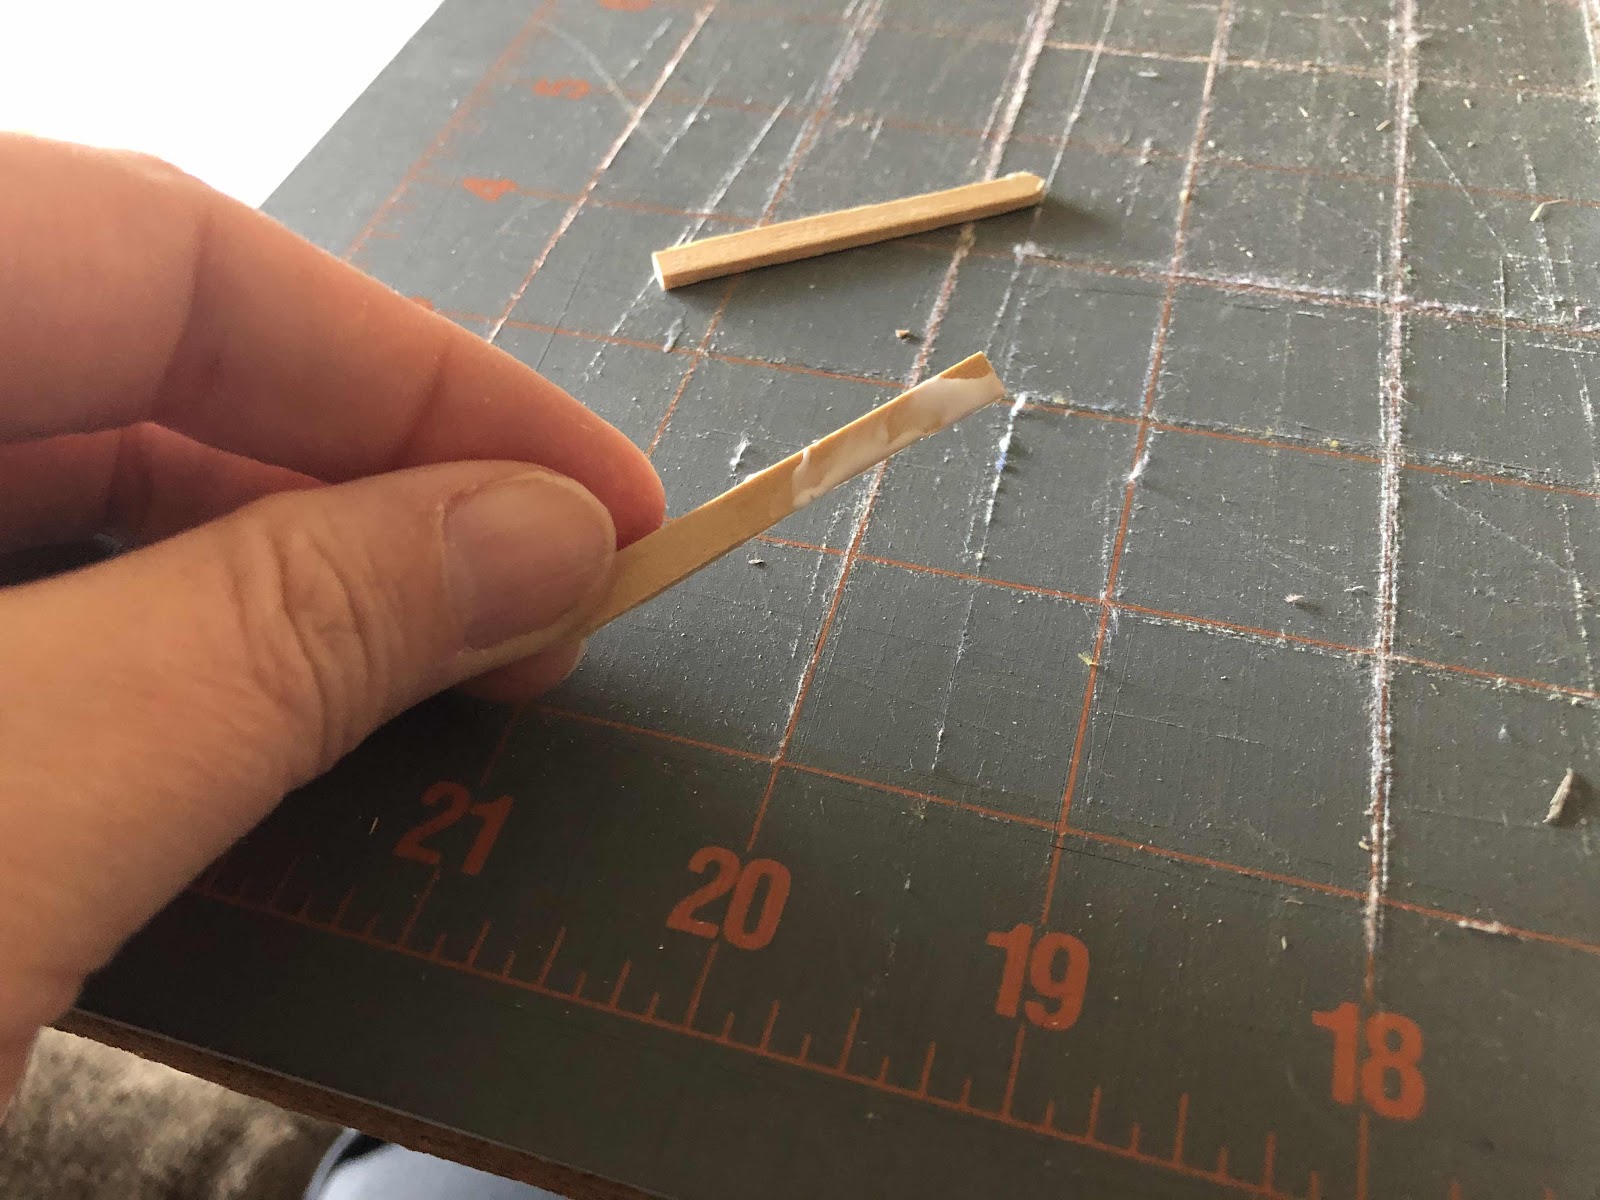
I walked away from my radiators to allow these pieces to fully dry. But it wasn’t long before I came back ready to assemble my radiators.
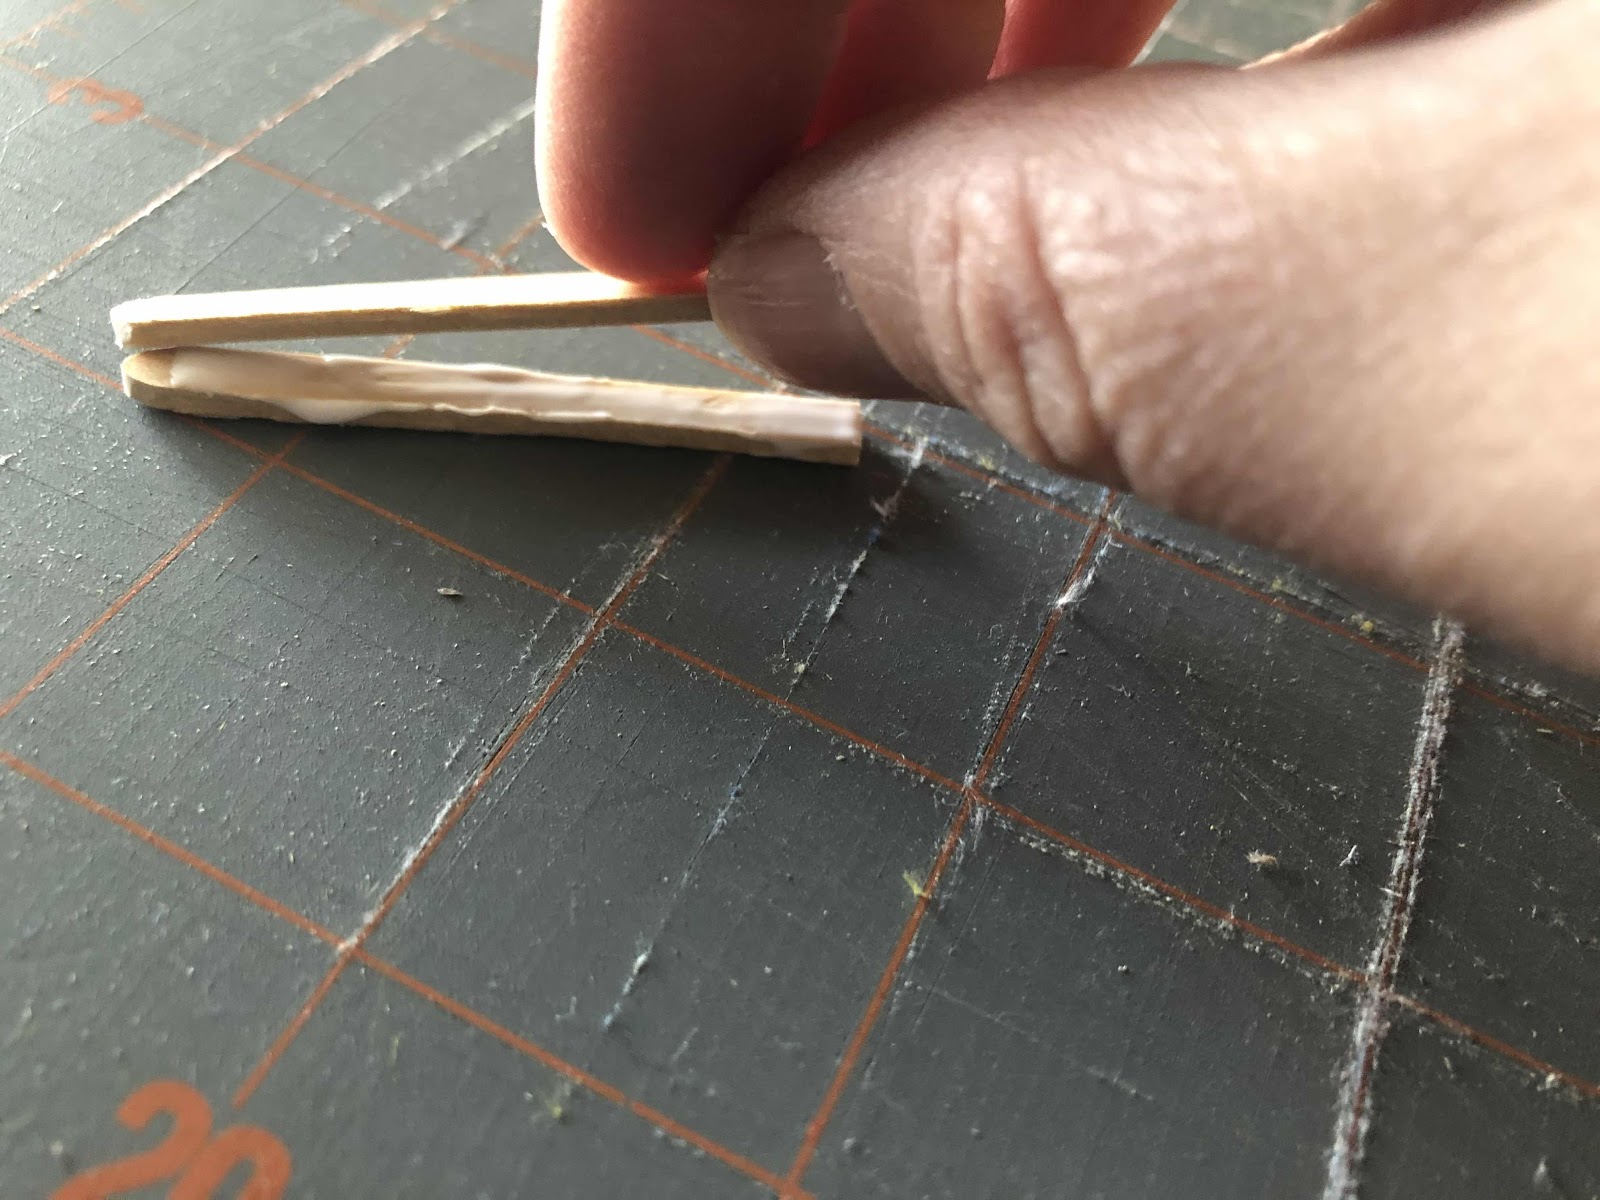
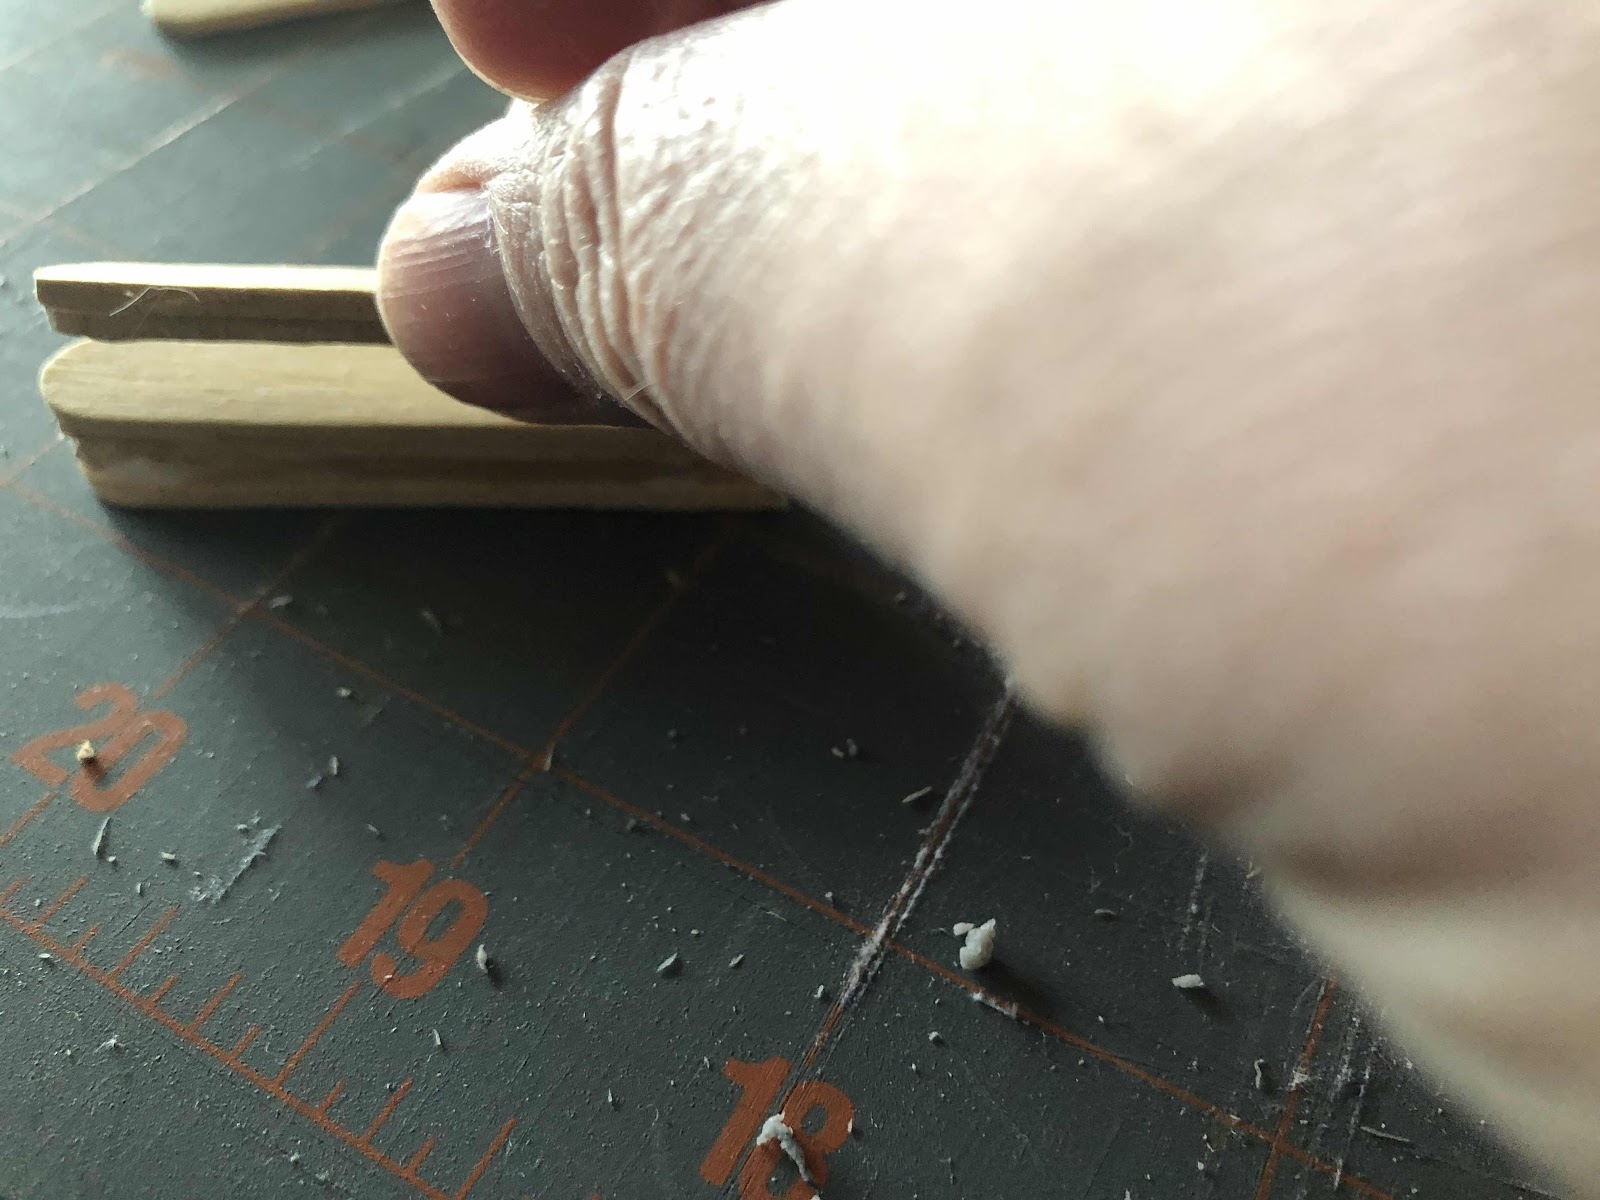
I picked up one of the end pieces of a radiator (the piece with the two legs/feet) and I glued one of my narrow pieces to it (the pieces that I glued together to make a thicker piece).
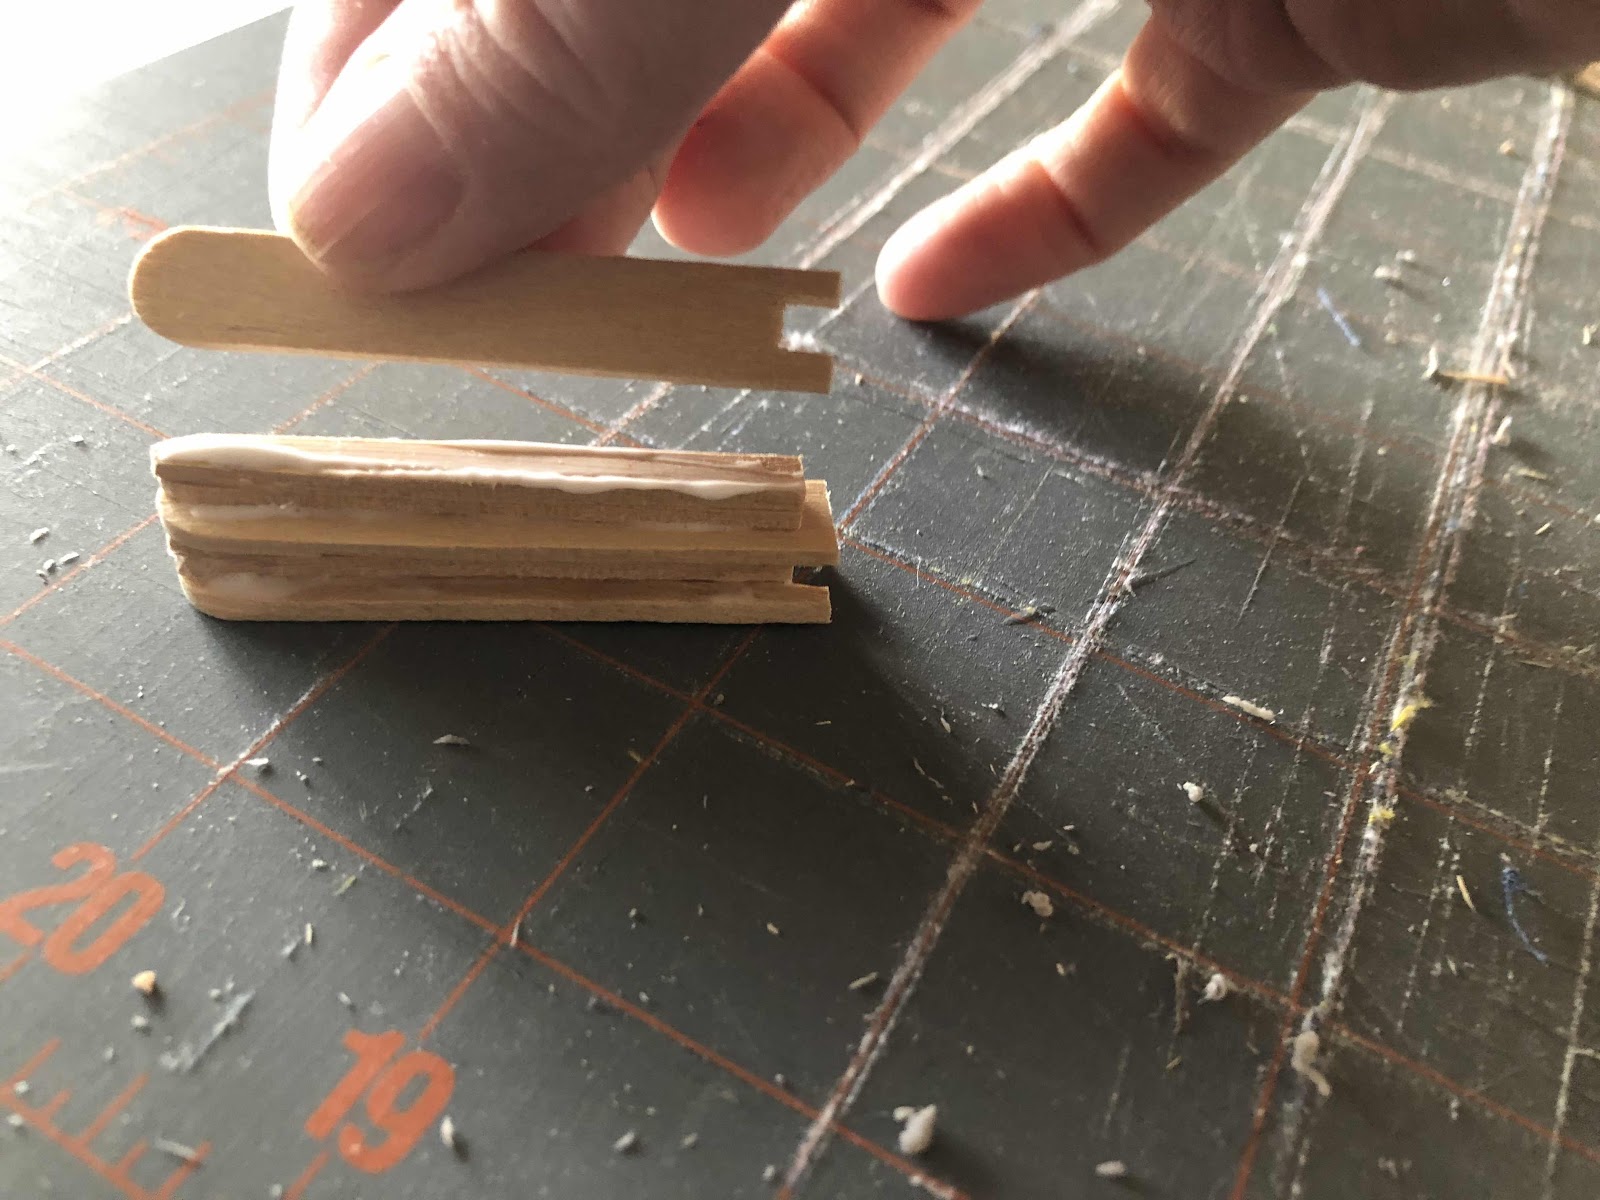
I then grabbed a wide piece (one with no legs) and glued that to the narrow piece that I had just added.
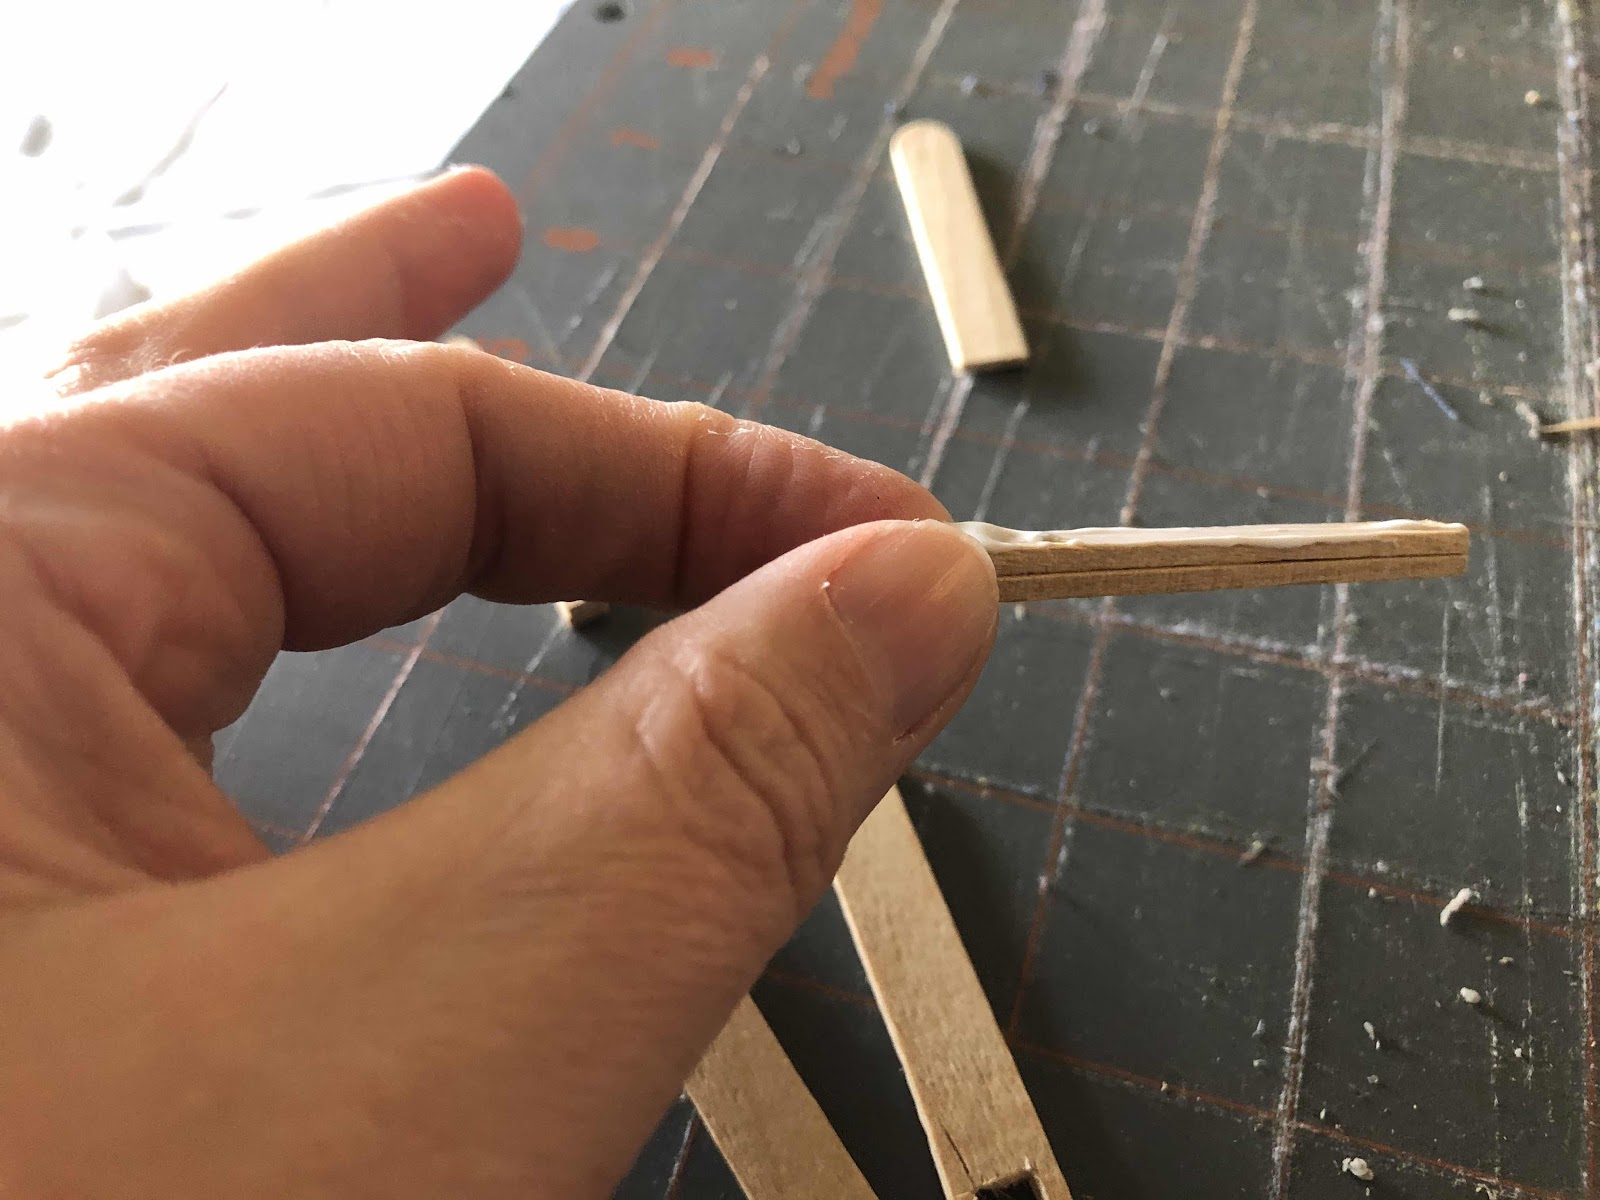
And now you repeat the process by gluing another narrow piece on top of that wide piece. Be sure to keep everything even at the top.
Repeat the process until you have a radiator the size that you want for your house, alternating wide with narrow pieces. The very last piece you add will be a wide piece and you will use a wide piece that has legs.
Now it’s time to step away and let everything dry! Once dry you can paint them to your specifications and you are done...mostly!
I chose to add some water line pipes from the radiators to the floor for an extra touch of realism. I just grabbed some thin gauge wire (from the jewelry making department) and cut it to size...added a little bend and superglued it on!!!!
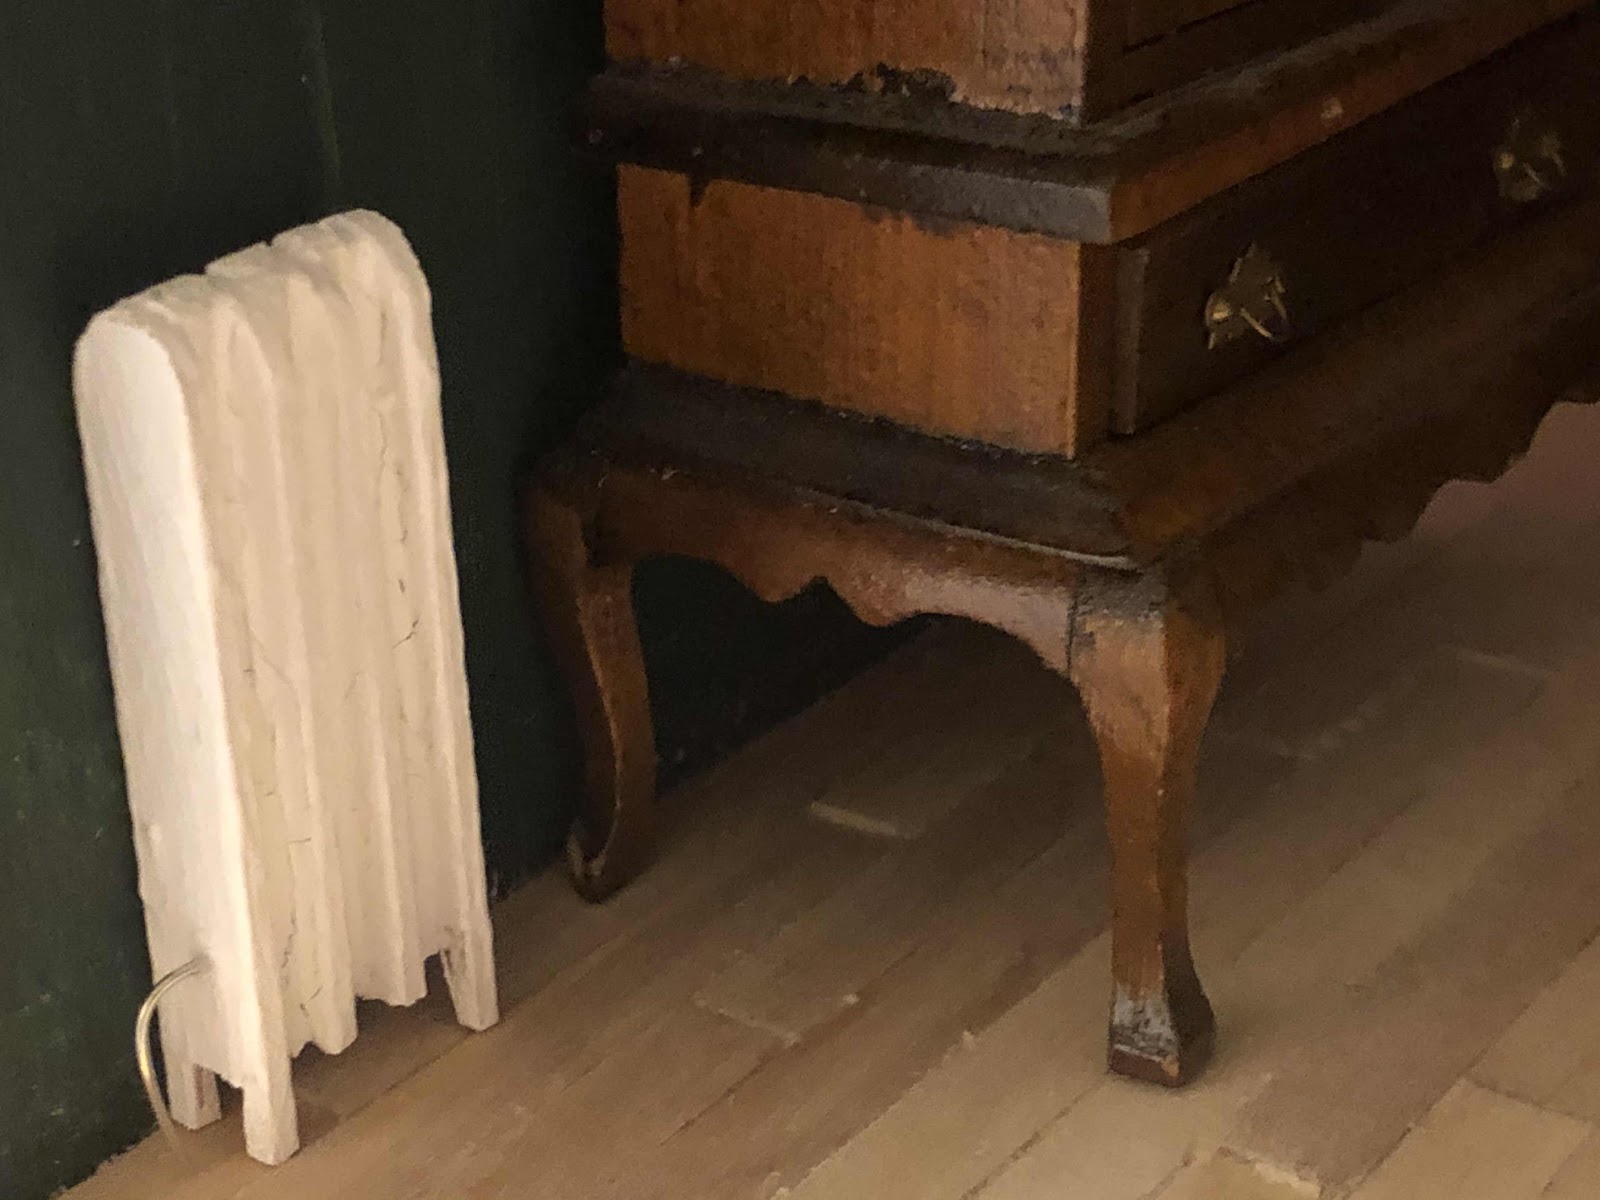
This was a super easy project to complete! It was made using items that I had around the house. It was a fun process! I am loving the touch of realism it added to my Greenleaf McKinley house!!!
They turned out really good. It is so encouraging to hear that you eyeballed the prototype and had success. I love when that happens, it feels like play rather than work.
ReplyDeleteYes! It does feel more like play when we eyeball and have success!!! This time I got lucky!!!
DeleteI love them too, MaryFran. Thank you so much for the detailed description as I have to make some in 1:24 scale for one of my many unfinished projects. This will be a great help. Have a great week. - Marilyn D.
ReplyDeleteOh awesome!!!! Let me know how’s yours turn out!!!! And if you can figure out a knob for the on off water!!! :-)
DeleteVery clever and fun! It looks perfect in the space and I am sure your little folk will appreciate the warmth come winter!!!
ReplyDeleteThanks! I had a blast and I am kinda jealous that my little cold will have such warm heat! Radiators are the best on a cold winter day!!!
Delete