Showing posts with label miniature. Show all posts

Thursday, May 28, 2020

A Miniature Crazy Quilt

I am well into the thick of things in regards to the creation of my StoneHouse Quilt Fabric Shop.  I have a lot of furniture built and in place.  I have been working on some of the smaller items needed to bring this miniature to life.  It was time to make a few quilts for display in the shop.

I have always absolutely loved quilts and it has always been on my bucket list to create a human sized crazy quilt.  When we went away a few months ago I took a picture of one in a museum that we visited.
So it should come as no surprise that one of my mini quilts for display would be a crazy quilt.  I really had no clue what I was doing!  NONE!  But I forged ahead with what seemed like a logical plan.

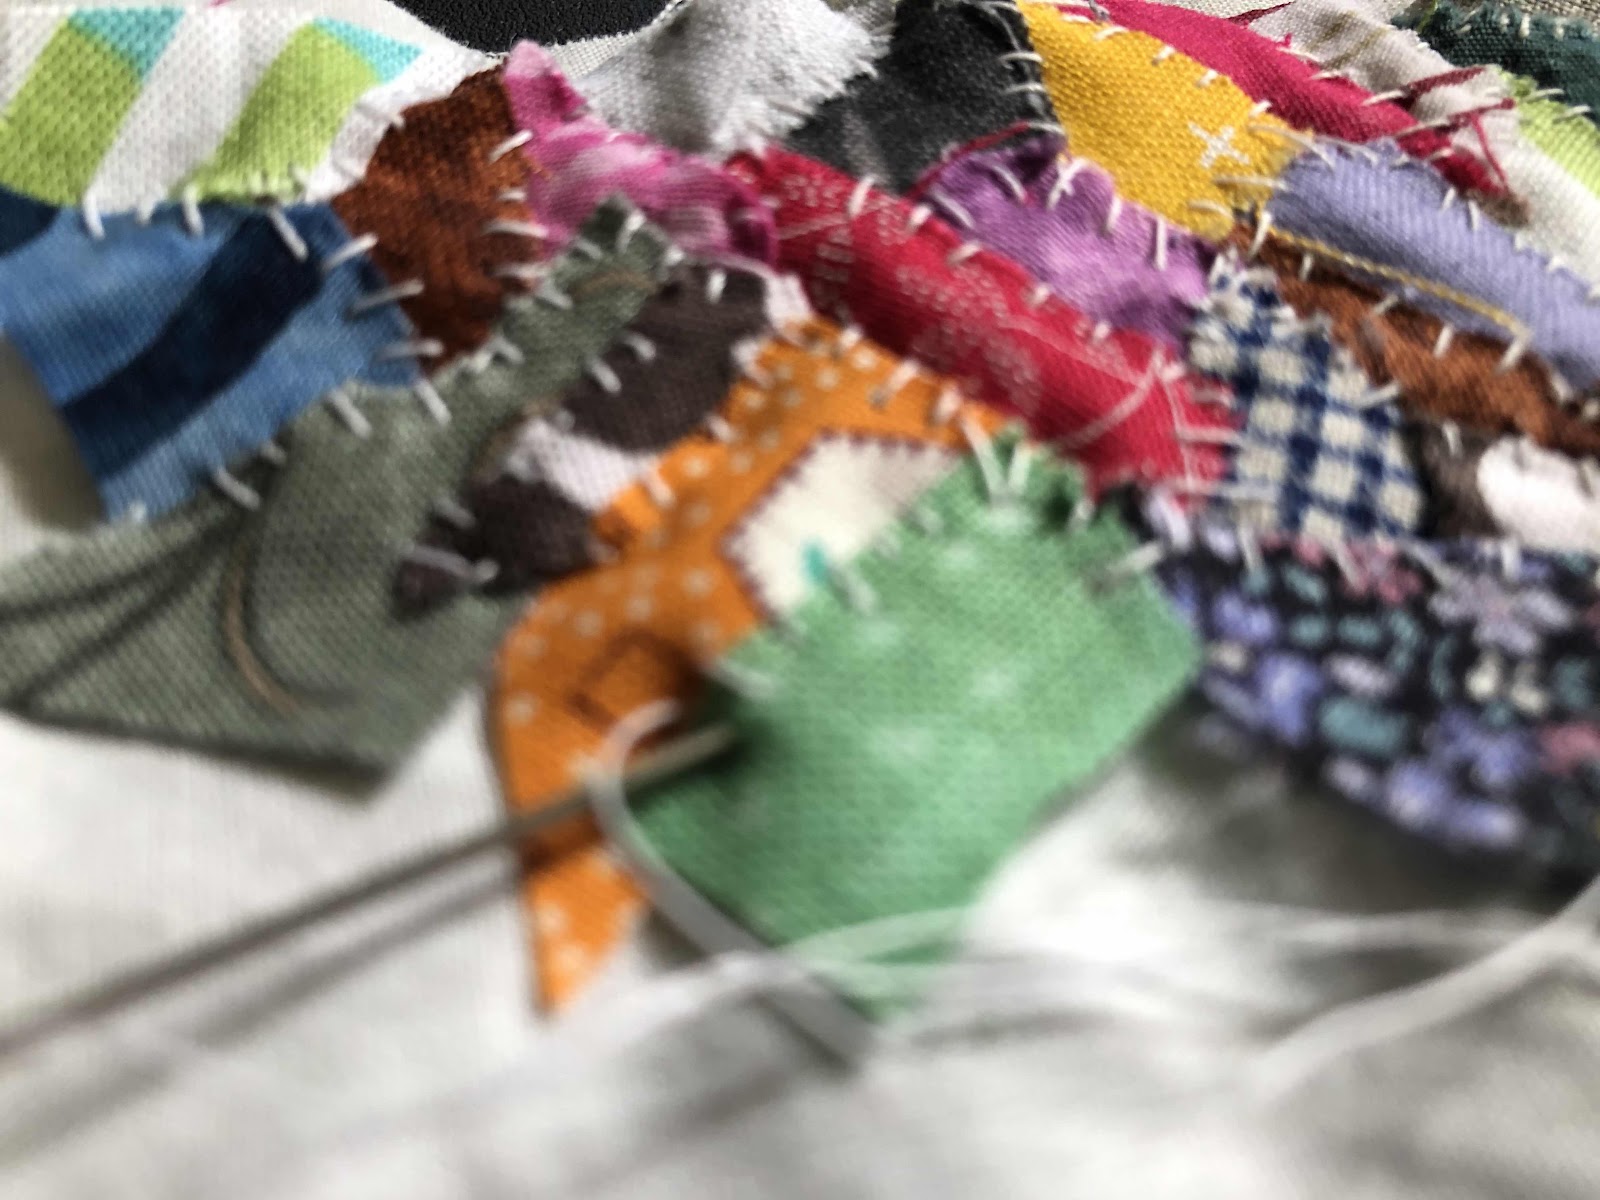
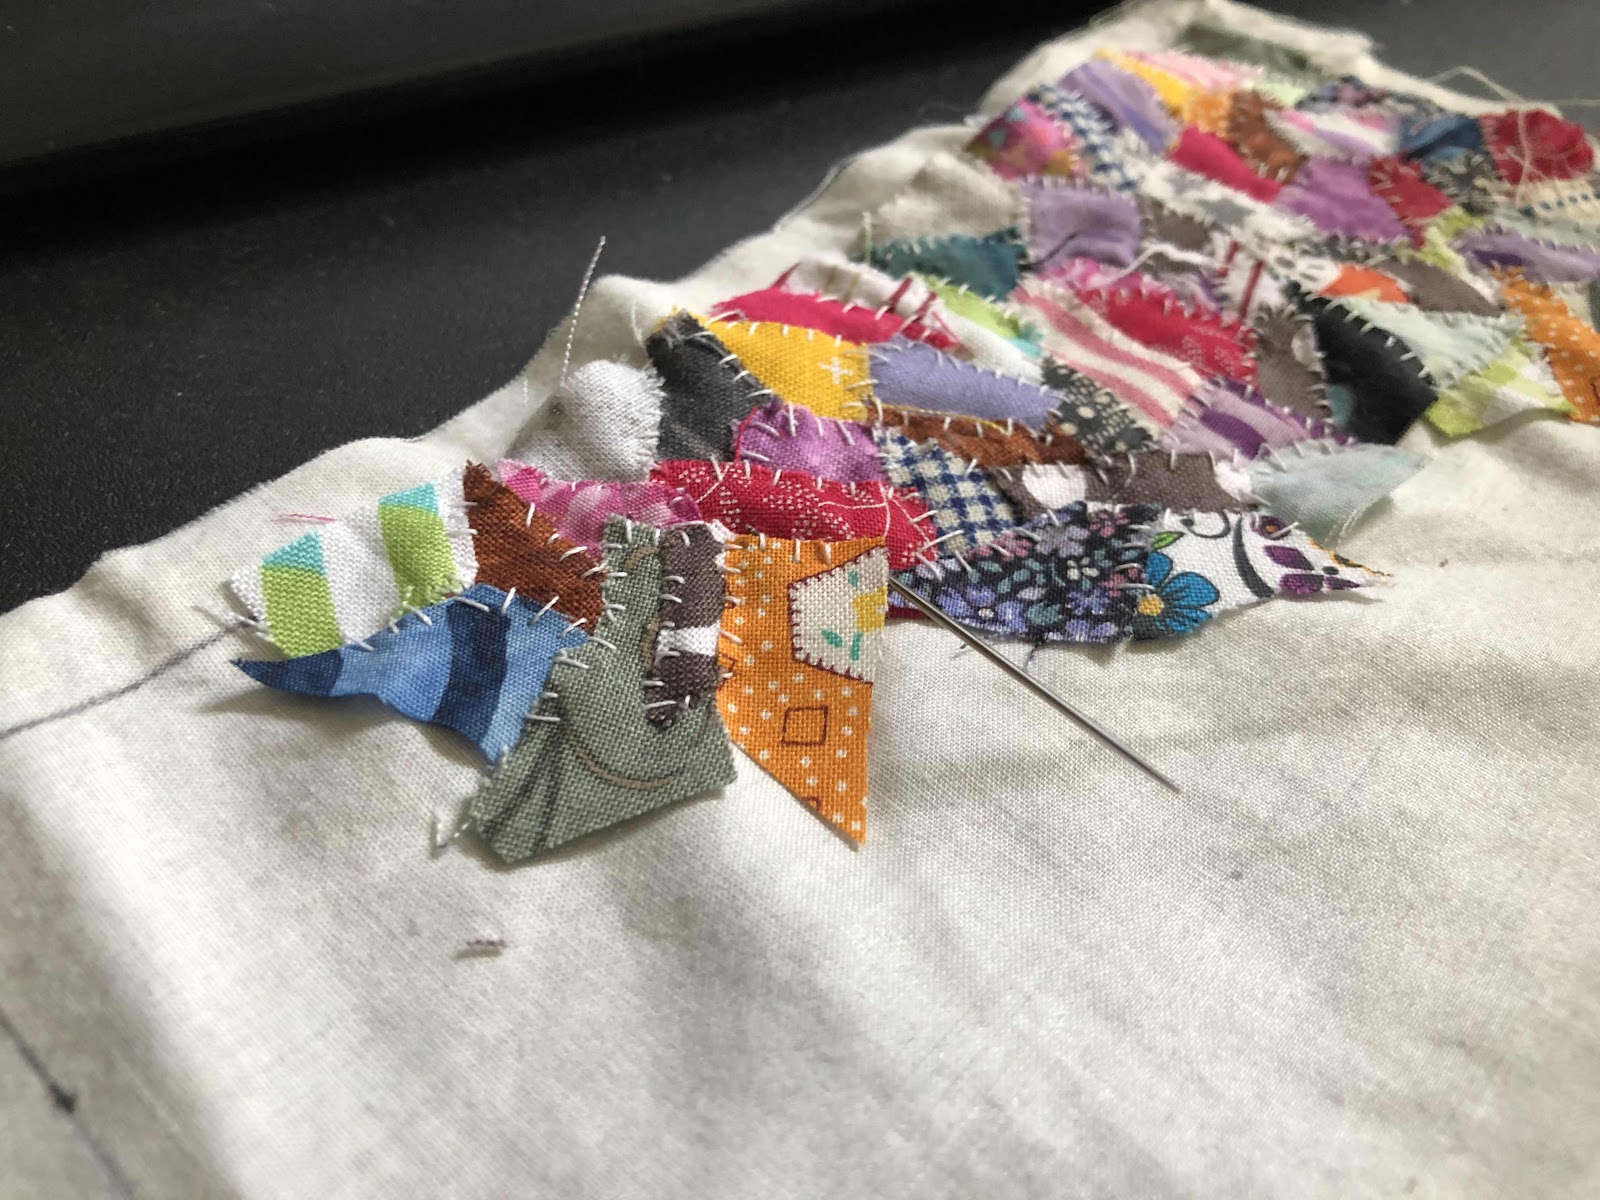
I started with a rectangle foundation of a thin white fabric and a table of small scraps of fabric.  I organized the fabric a bit so that I could quickly grab pieces that were different.

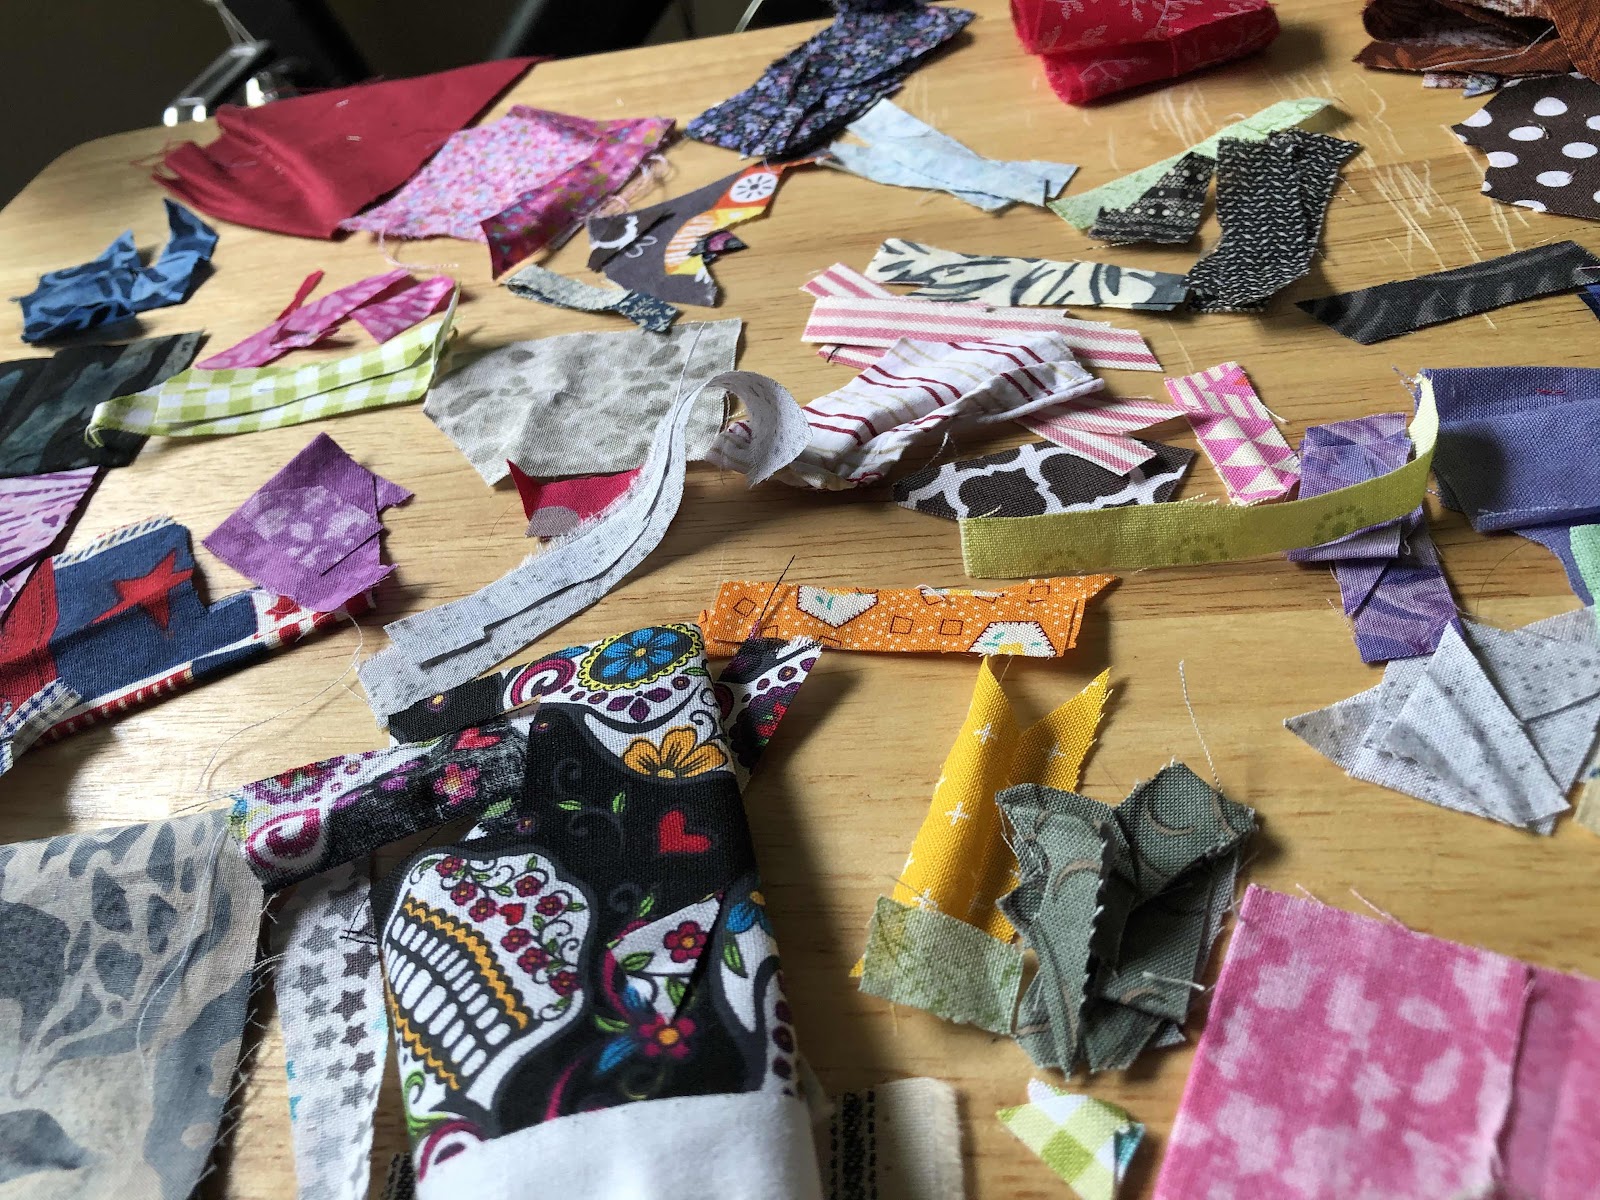
I know it doesn't look organized, but it was...at least for me!   I didn't throw anything away.  the pieces of fabric were tiny scraps that would normally have been thrown away!

I started with one small piece of scrap fabric up to the edge of the foundation fabric and held it in place with my fingers.  I then proceeded to do a small whip stitch on the outer edge of the scrap fabric. 

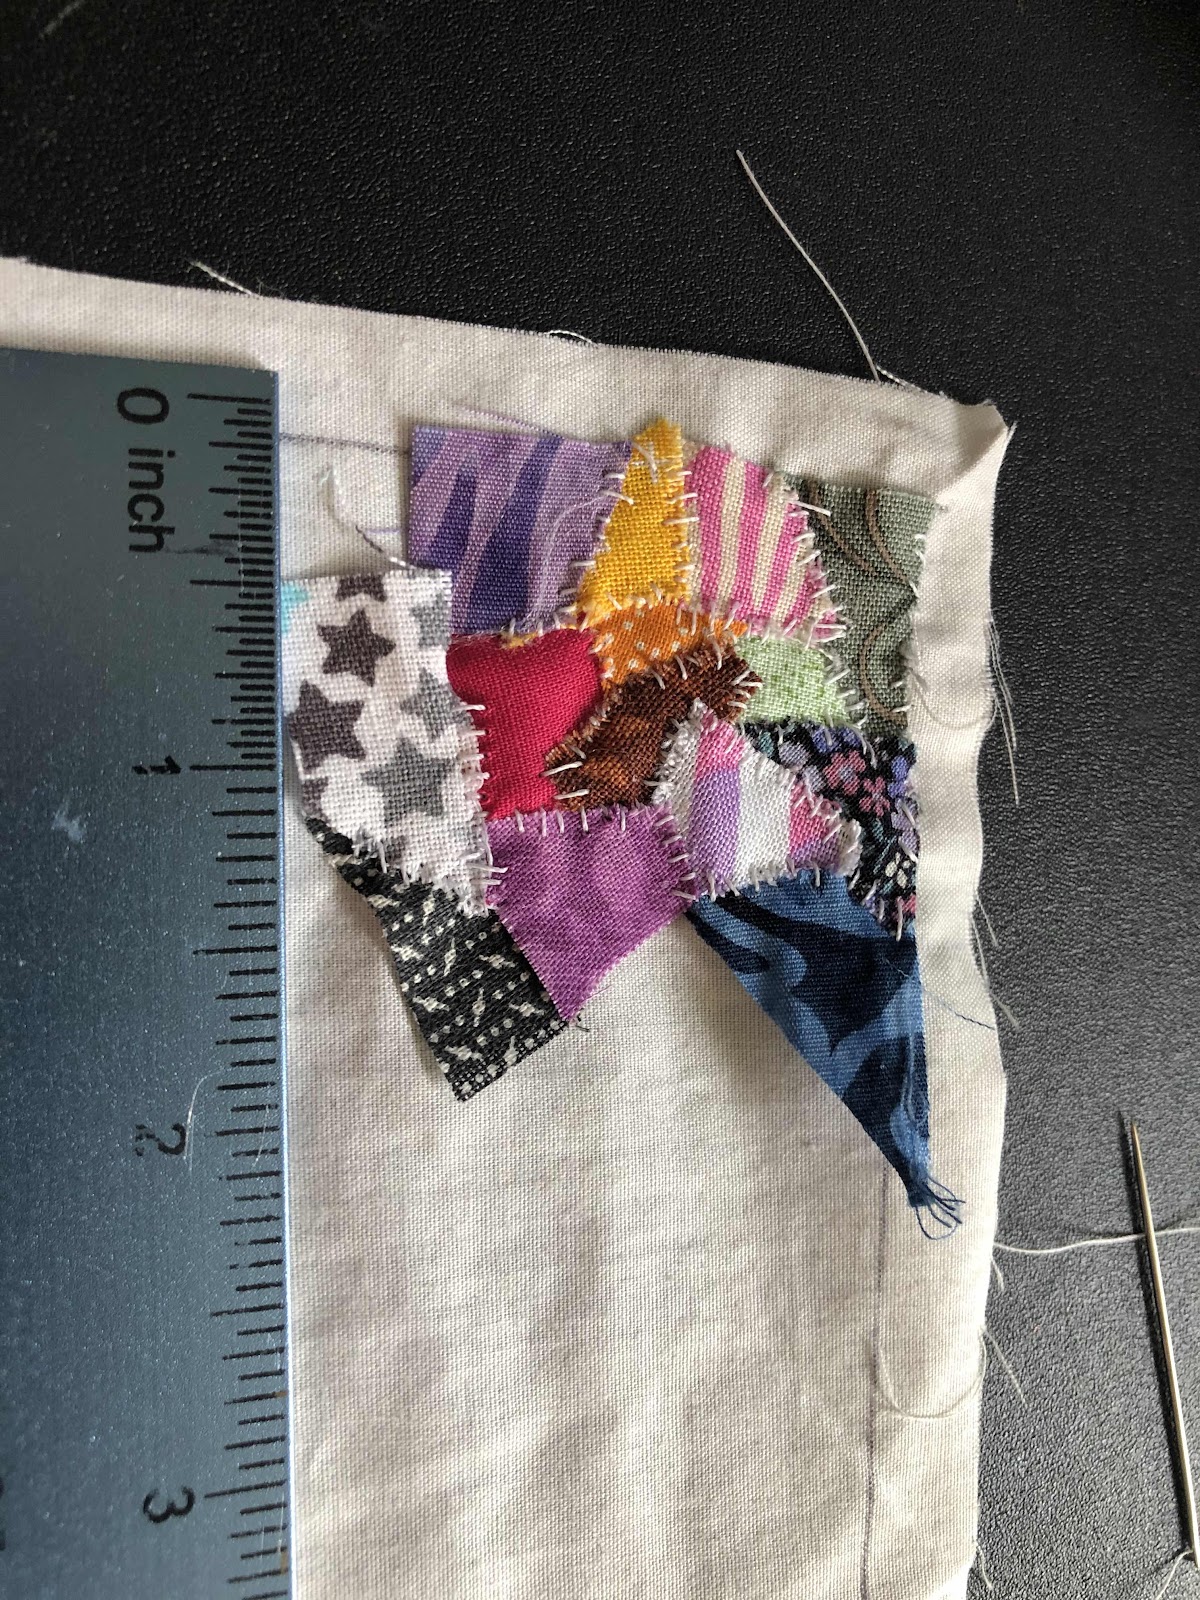
When that was securely attached to the foundation, I picked another piece of fabric and held it against the first piece of fabric.  I then did a light little whip stitch to attach the second piece of fabric to the first piece.  And then yes, you guessed it, I did the same thing with the third piece...and fourth piece.  I would whip stitch anything that was overlapping a previously attached piece of fabric.  

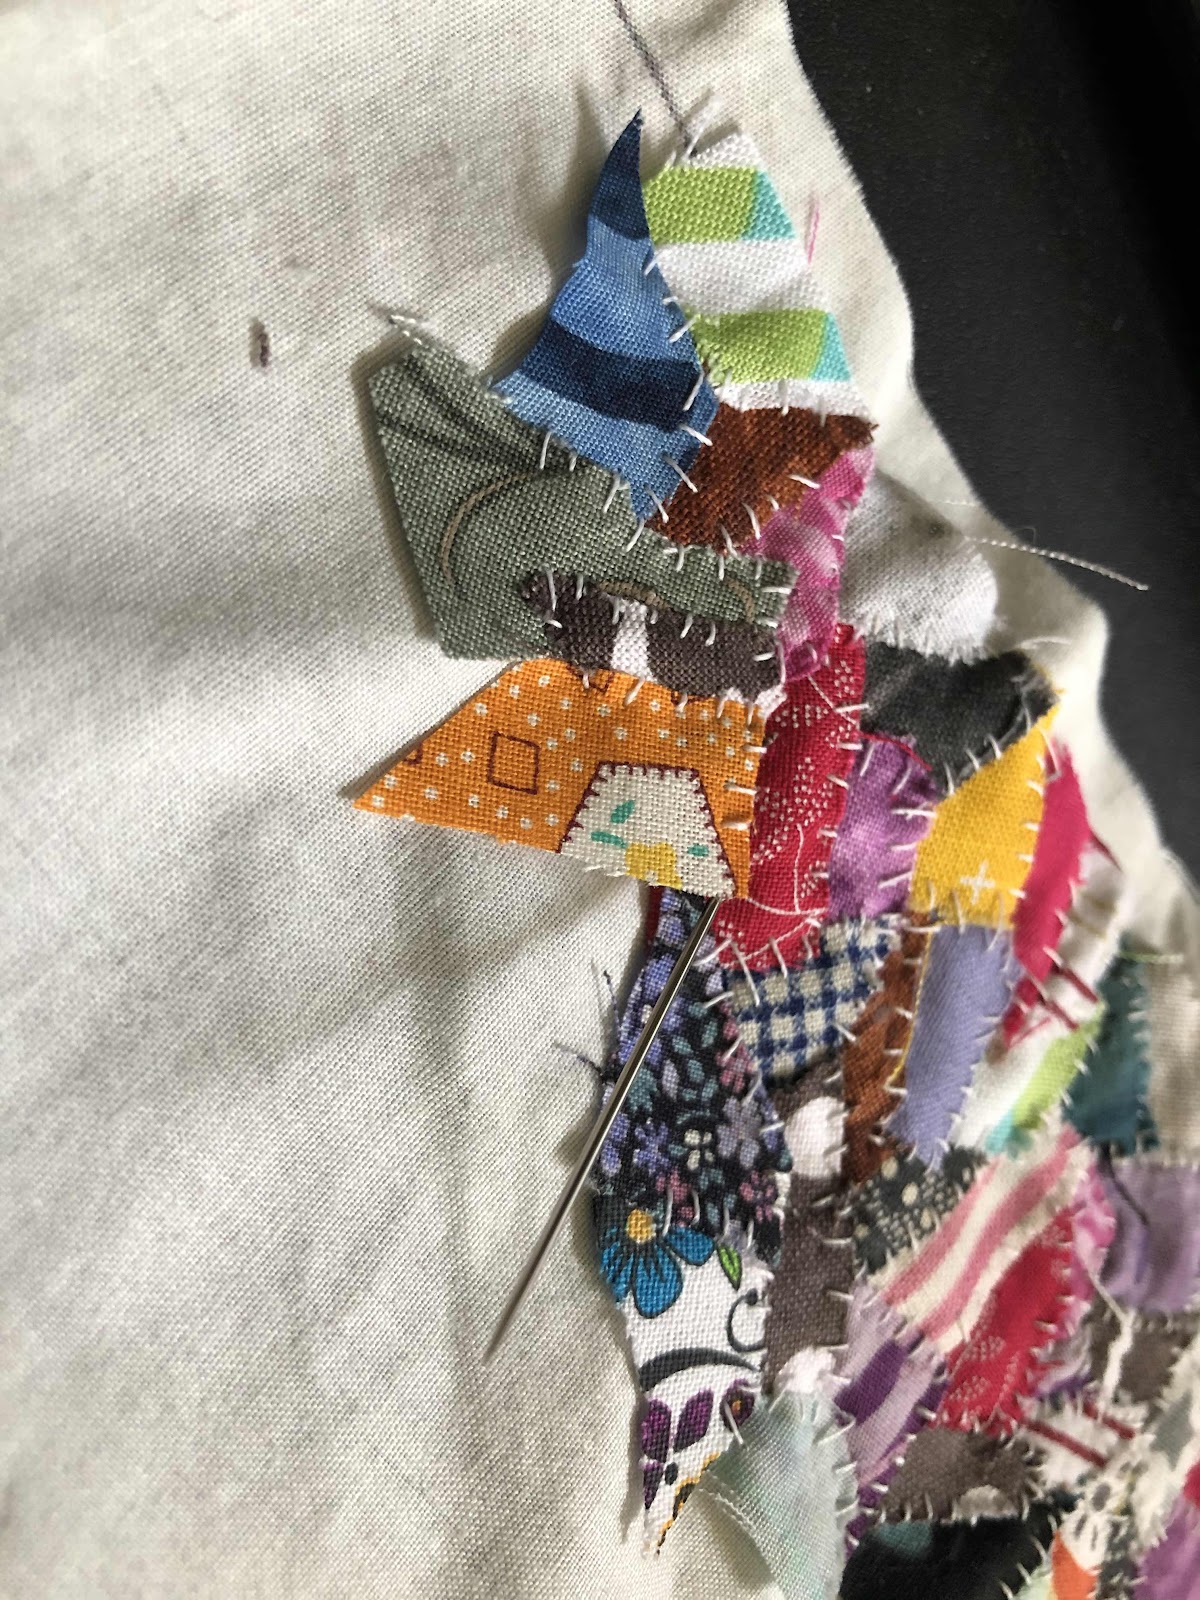
It was tedious, but it really did go fast!!!  I was done within a few days!  


When I was done, I just grabbed a neutral piece of fabric for backing and rolled the edge over to make a small sashing/binding around the edge.  And Voila!  Done!

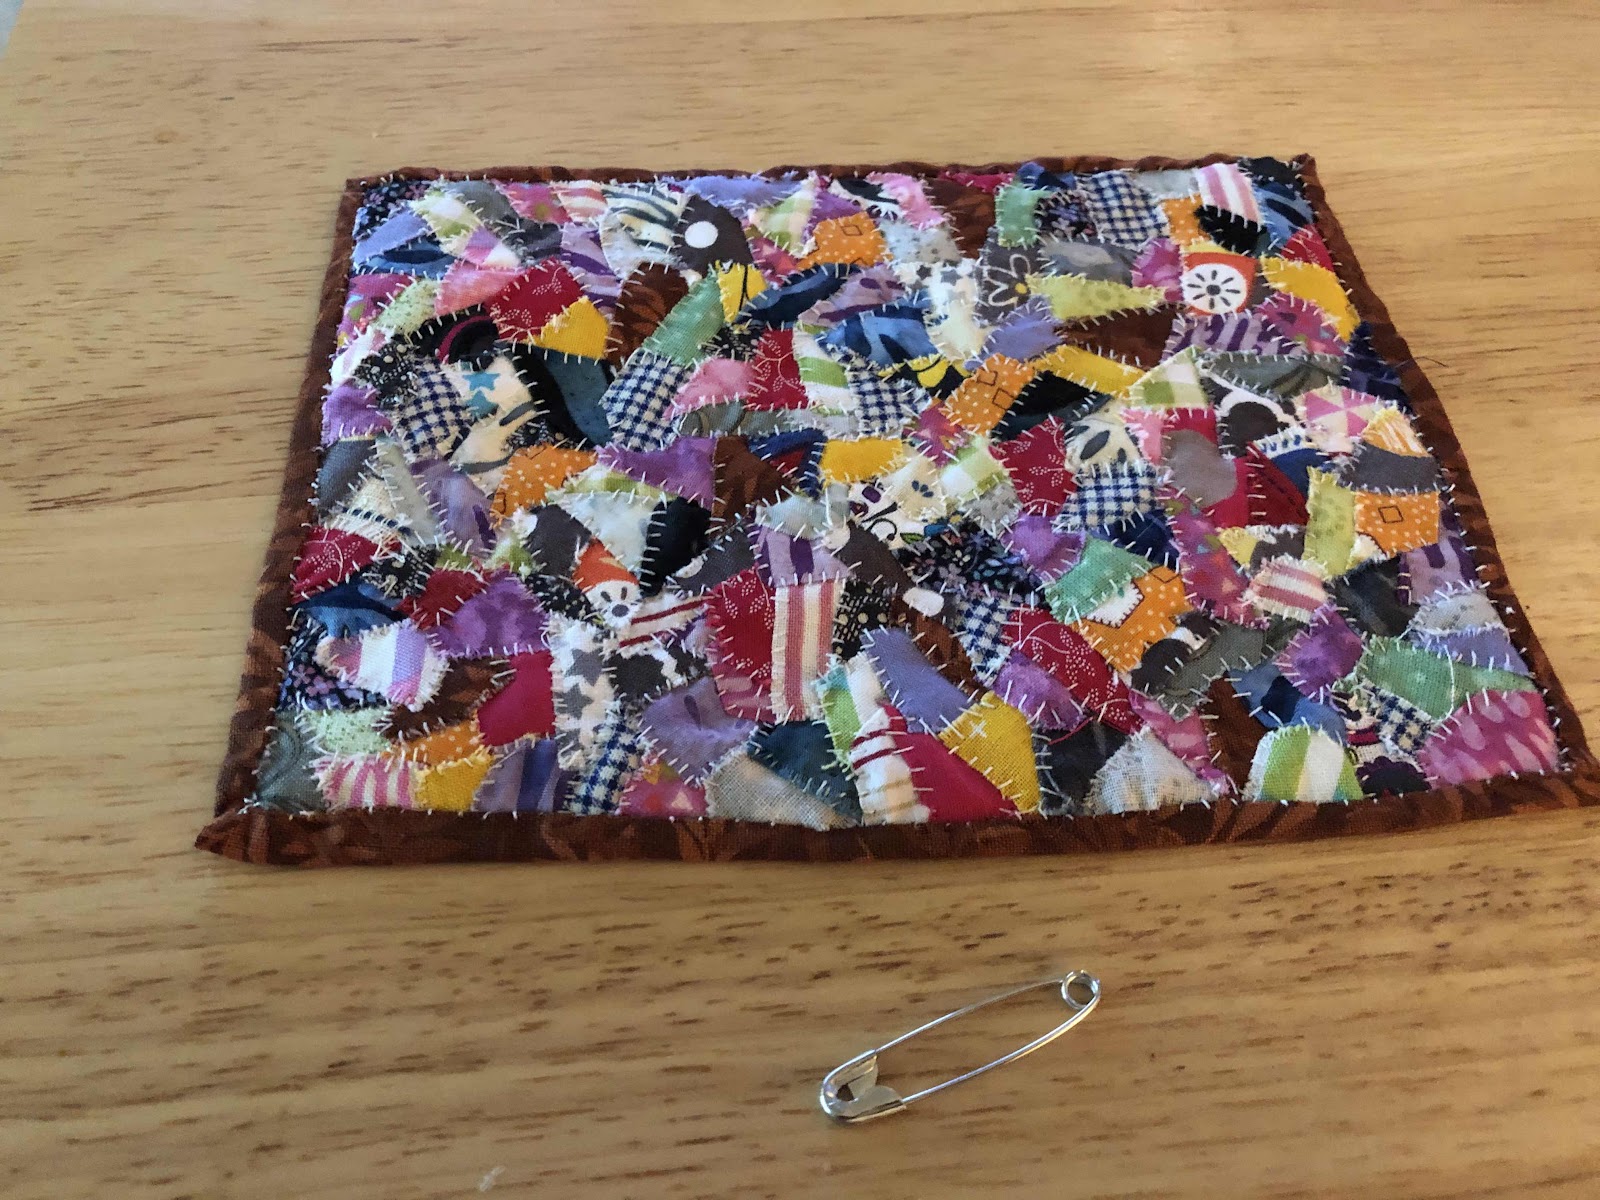
I can't wait to see this in place, hanging in the quilt shop!  Soon.....

In the meantime, I am riding high on the success of my quilt  I have resisted putting any quilt on the rope bed in the Log Cabin,  

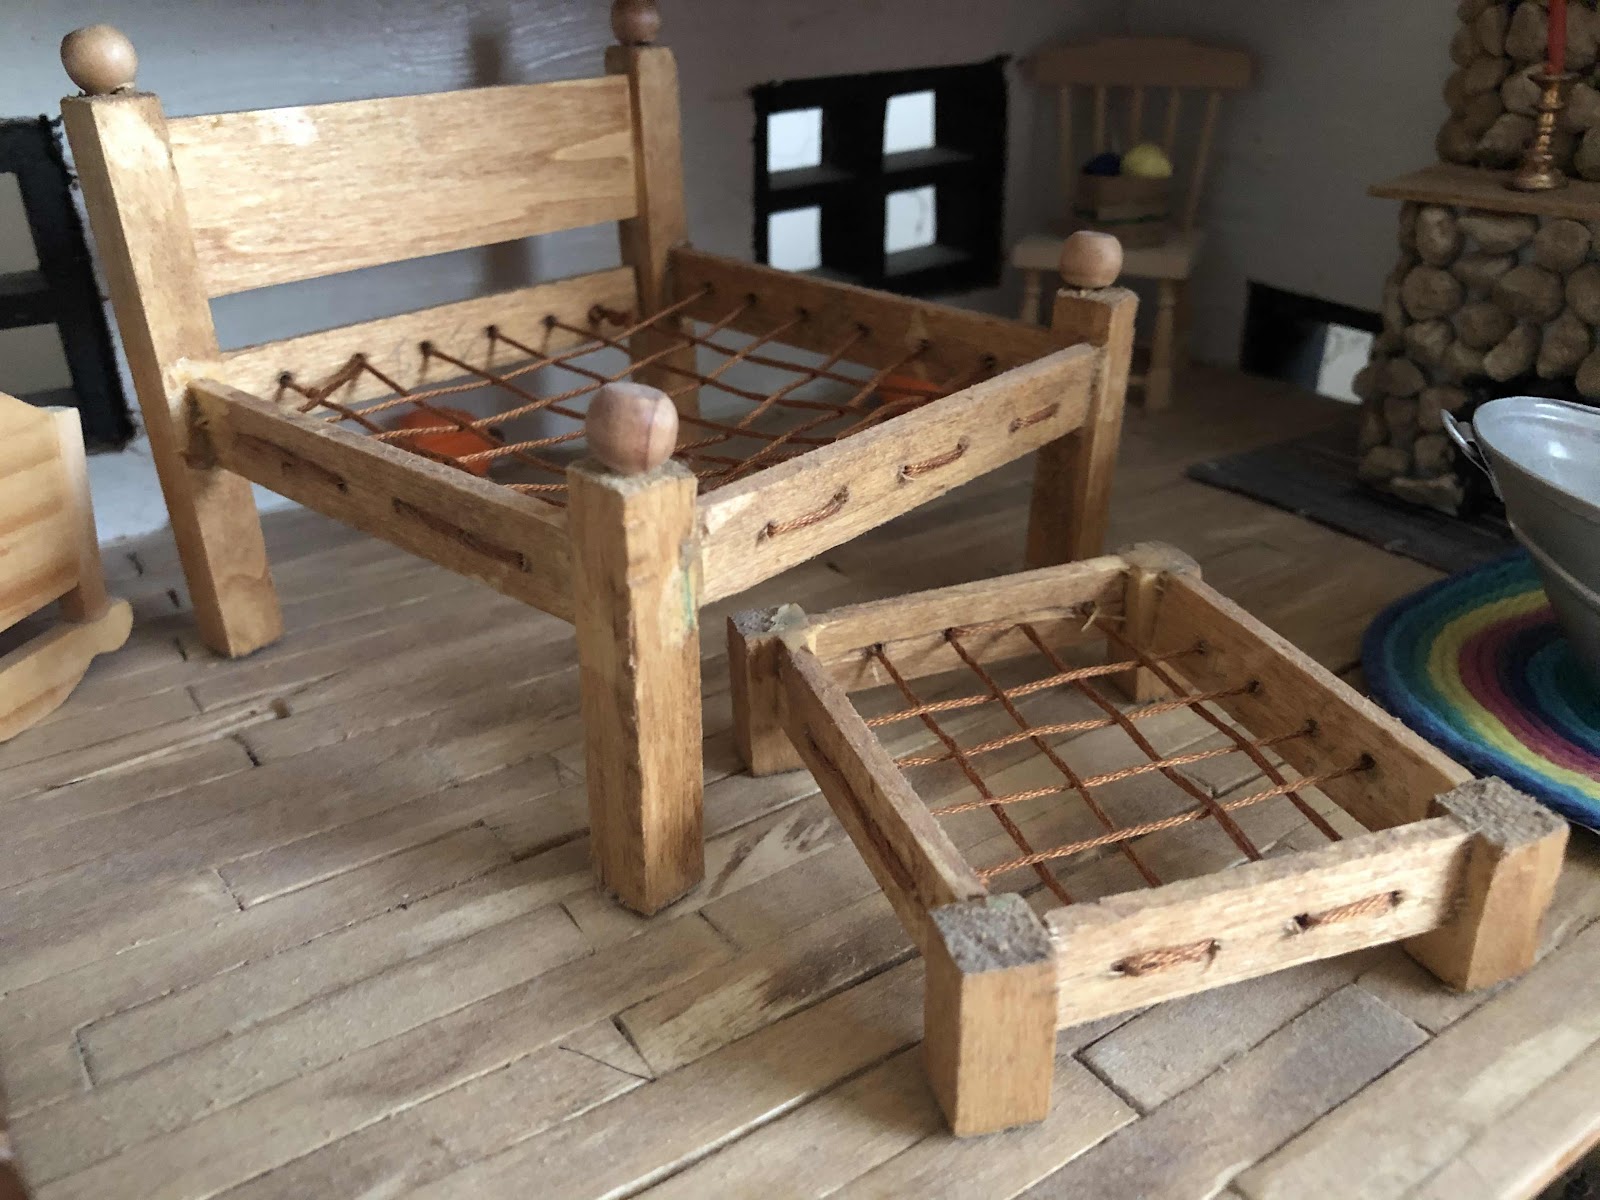
Why?  Because I love my bed so much!  However, I have already decided that I will be making another crazy quilt for that bed!  FINALLY, more than 5 years later, the rope bed will have a quilt!   I am also planning and thinking about other ideas for the quilt displays int he quilt shop!   I am only limited by my imagination!

Saturday, May 16, 2020

Checkout counter general store counter

I decided that for my check out counter for the Quilt Shop that I wanted an "antique".  In particular, I knew that I wanted an old fashioned general store display counter.  I searched a bit online and found this picture which I used as my model.
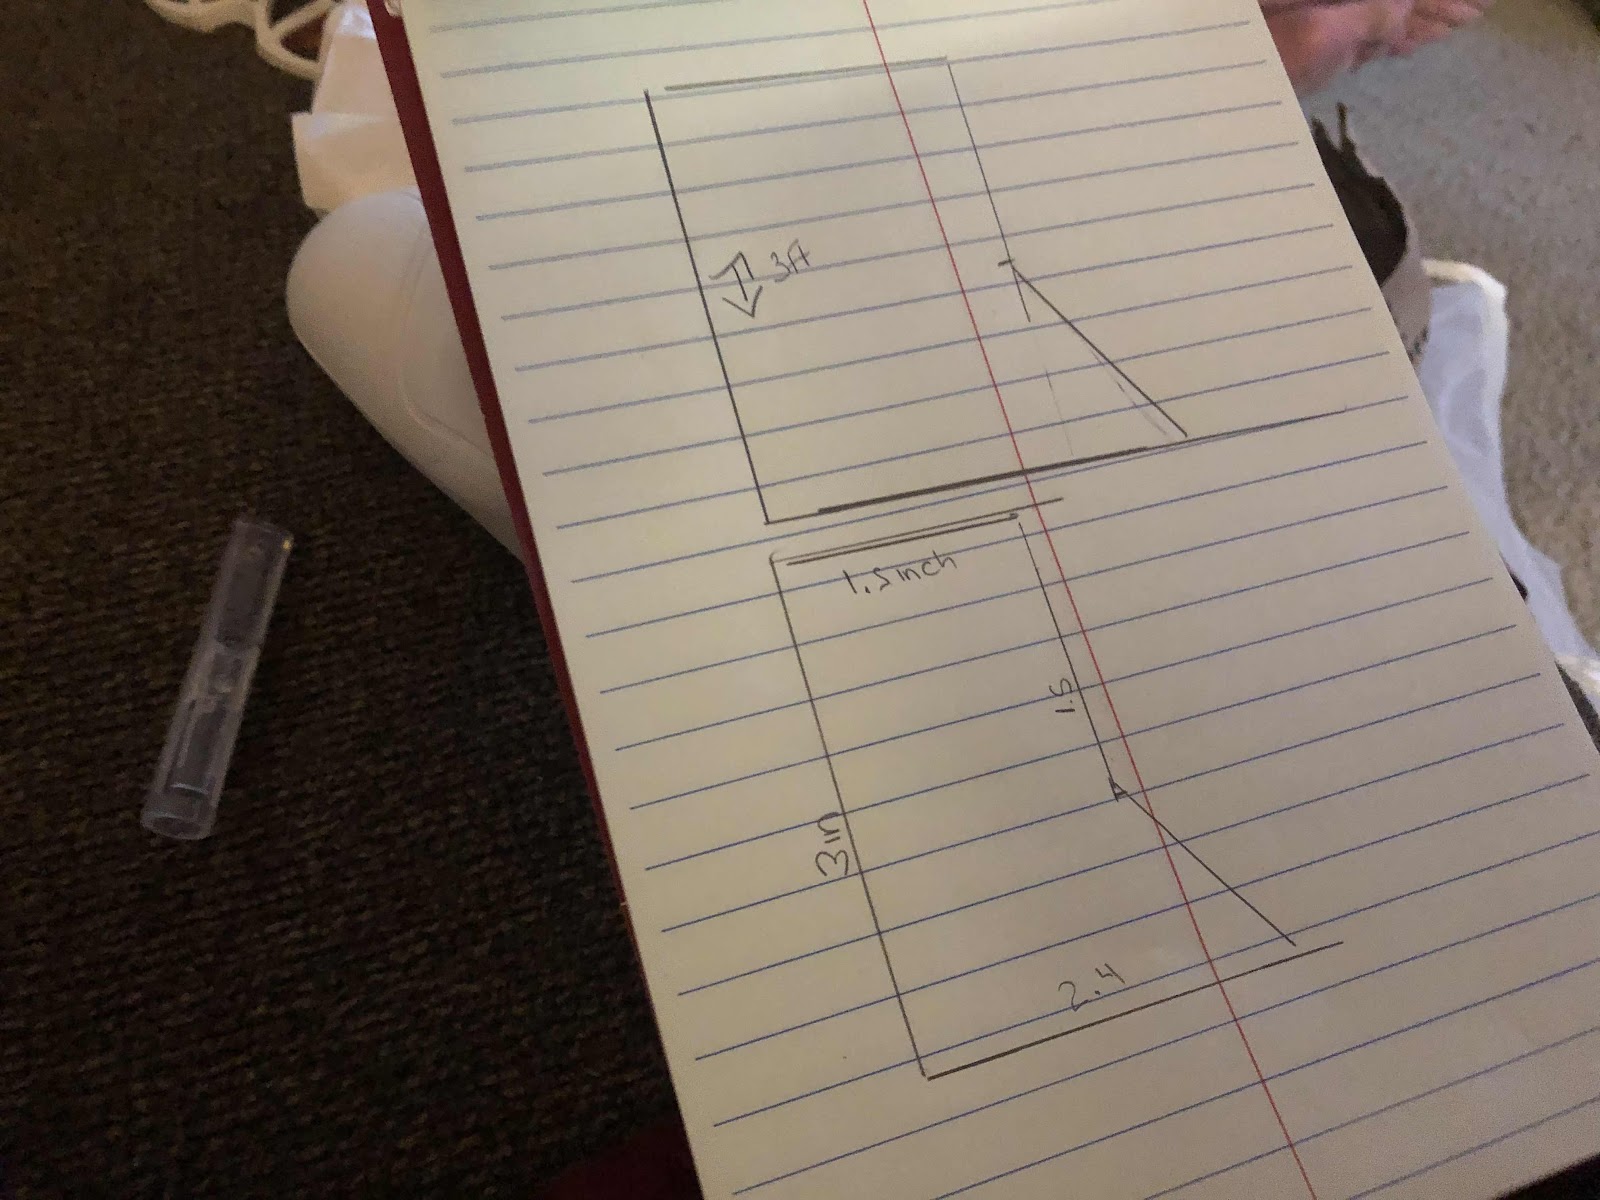
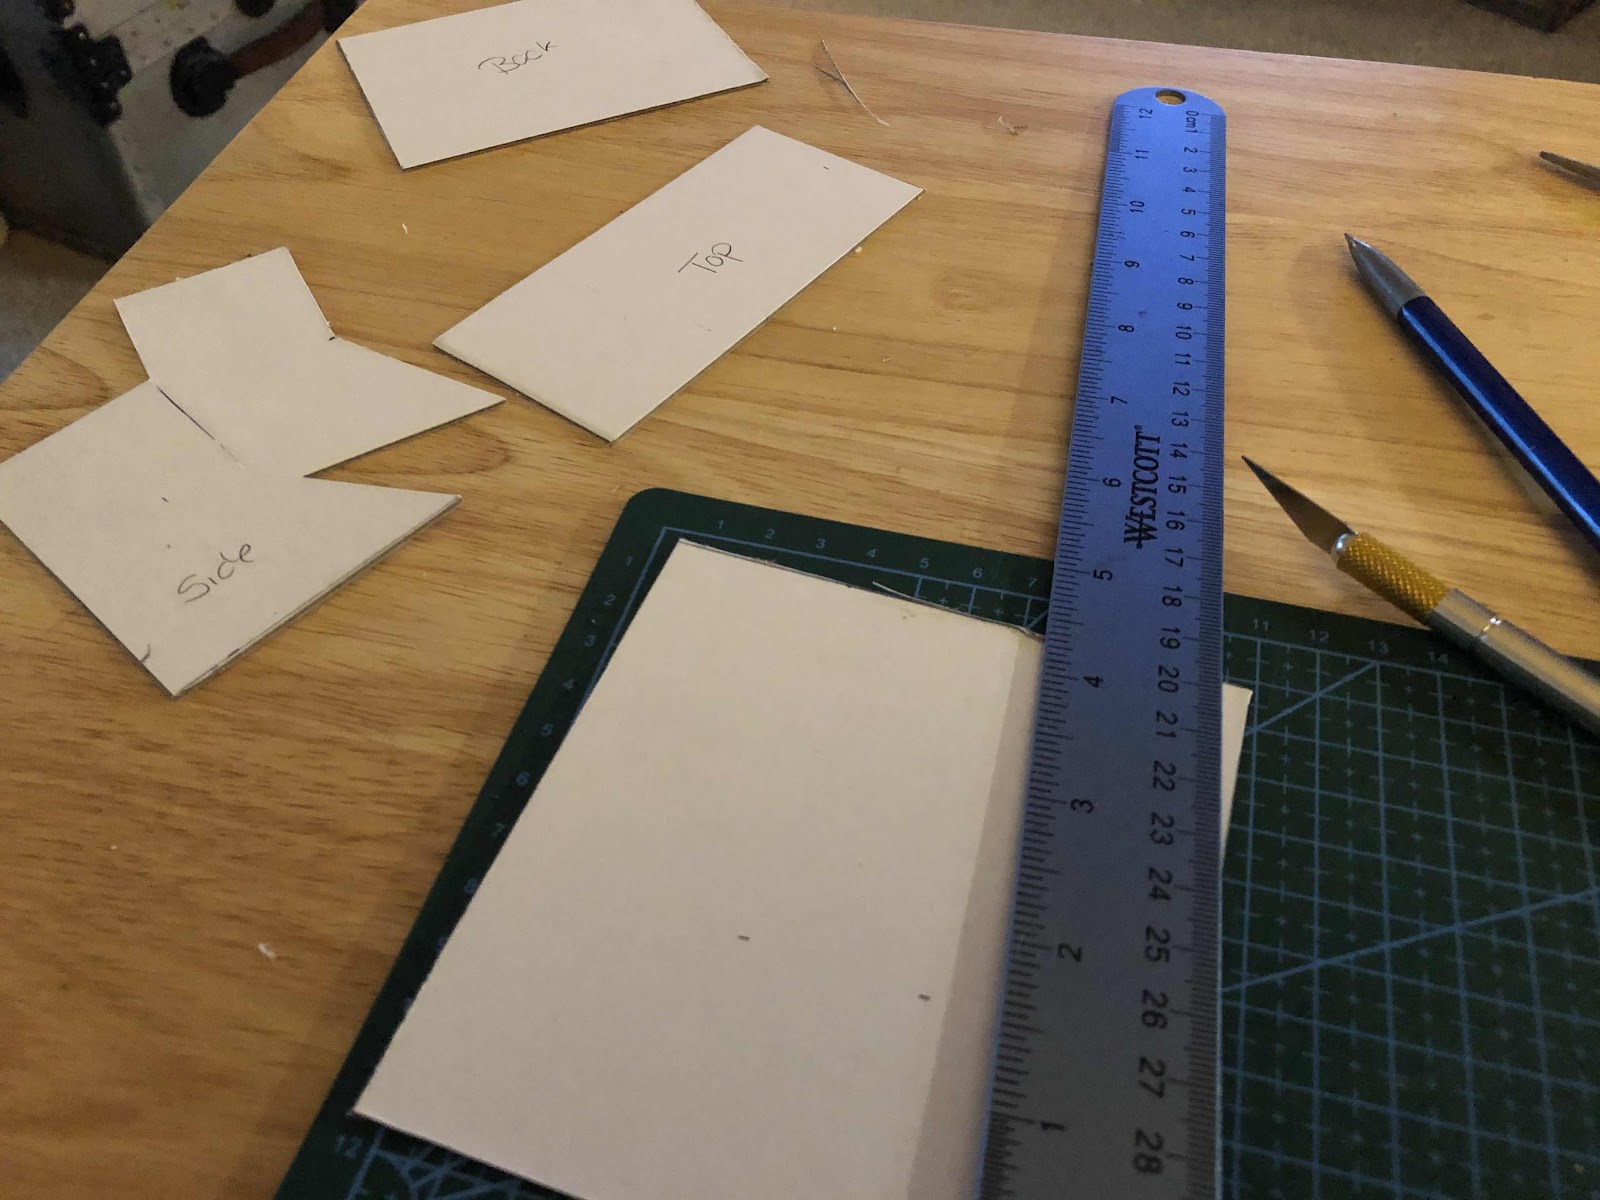
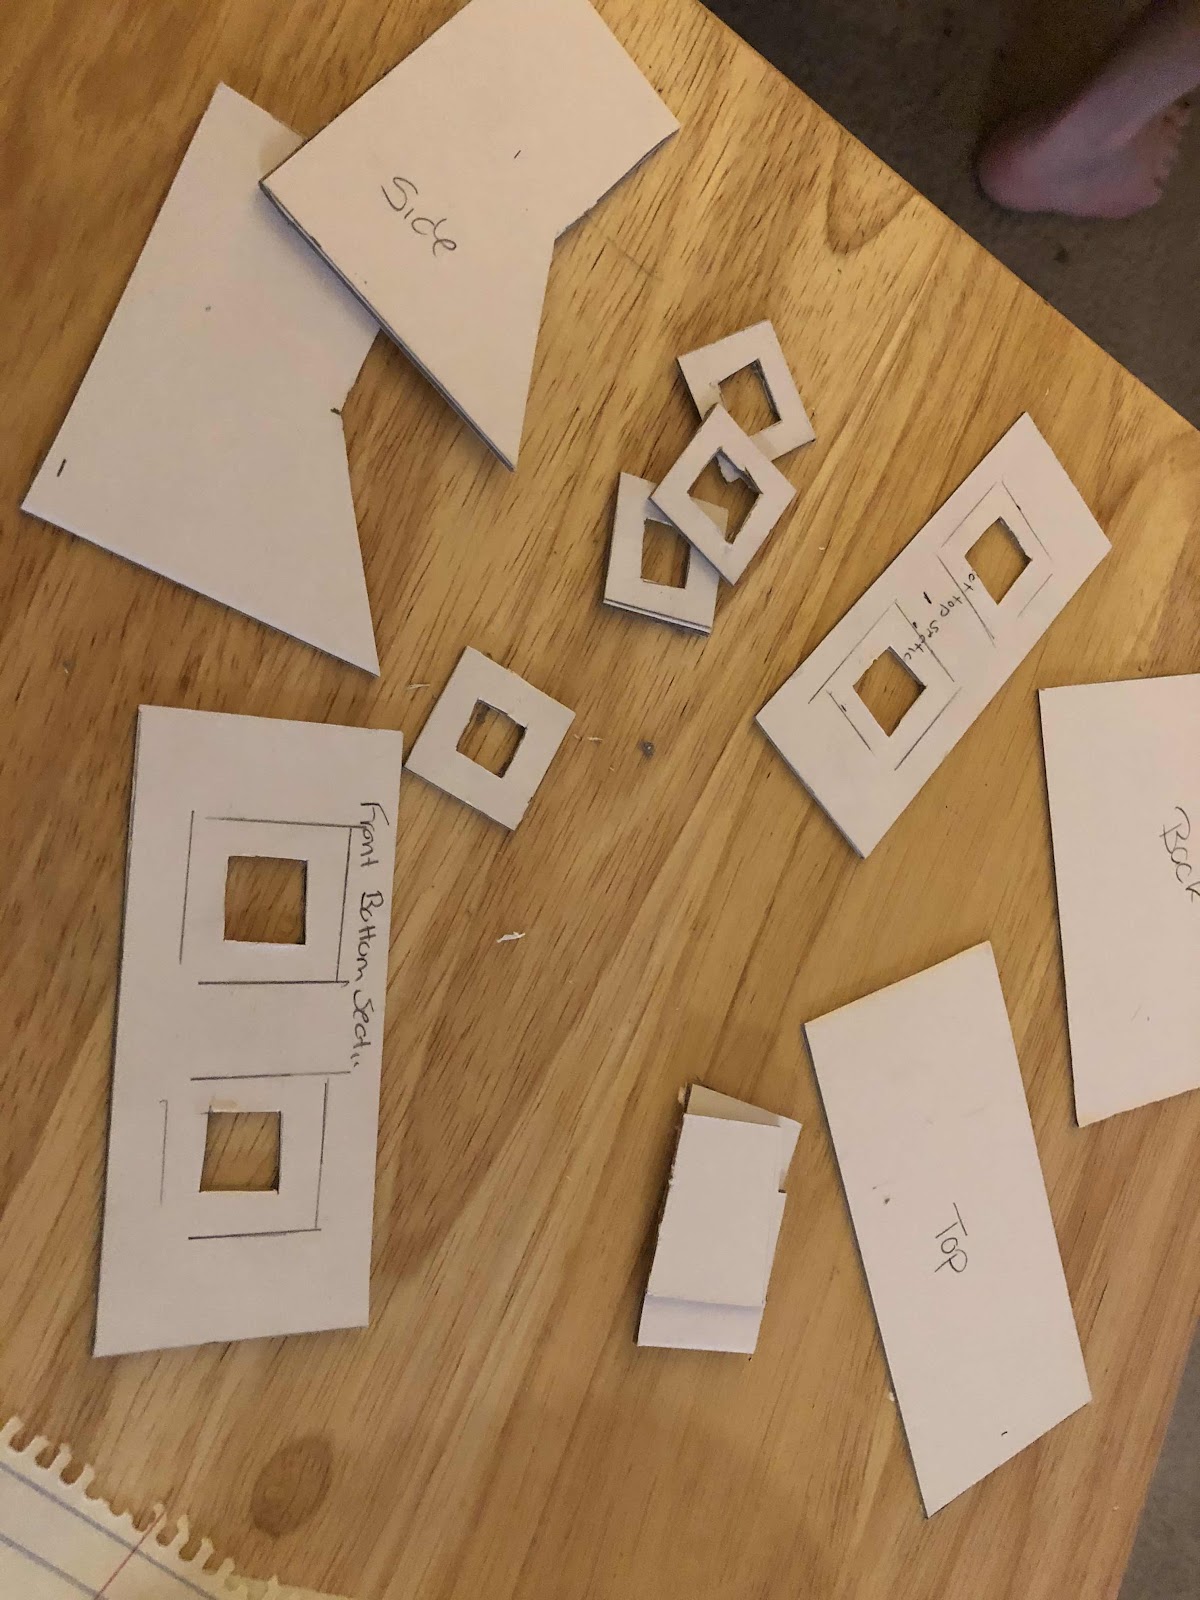
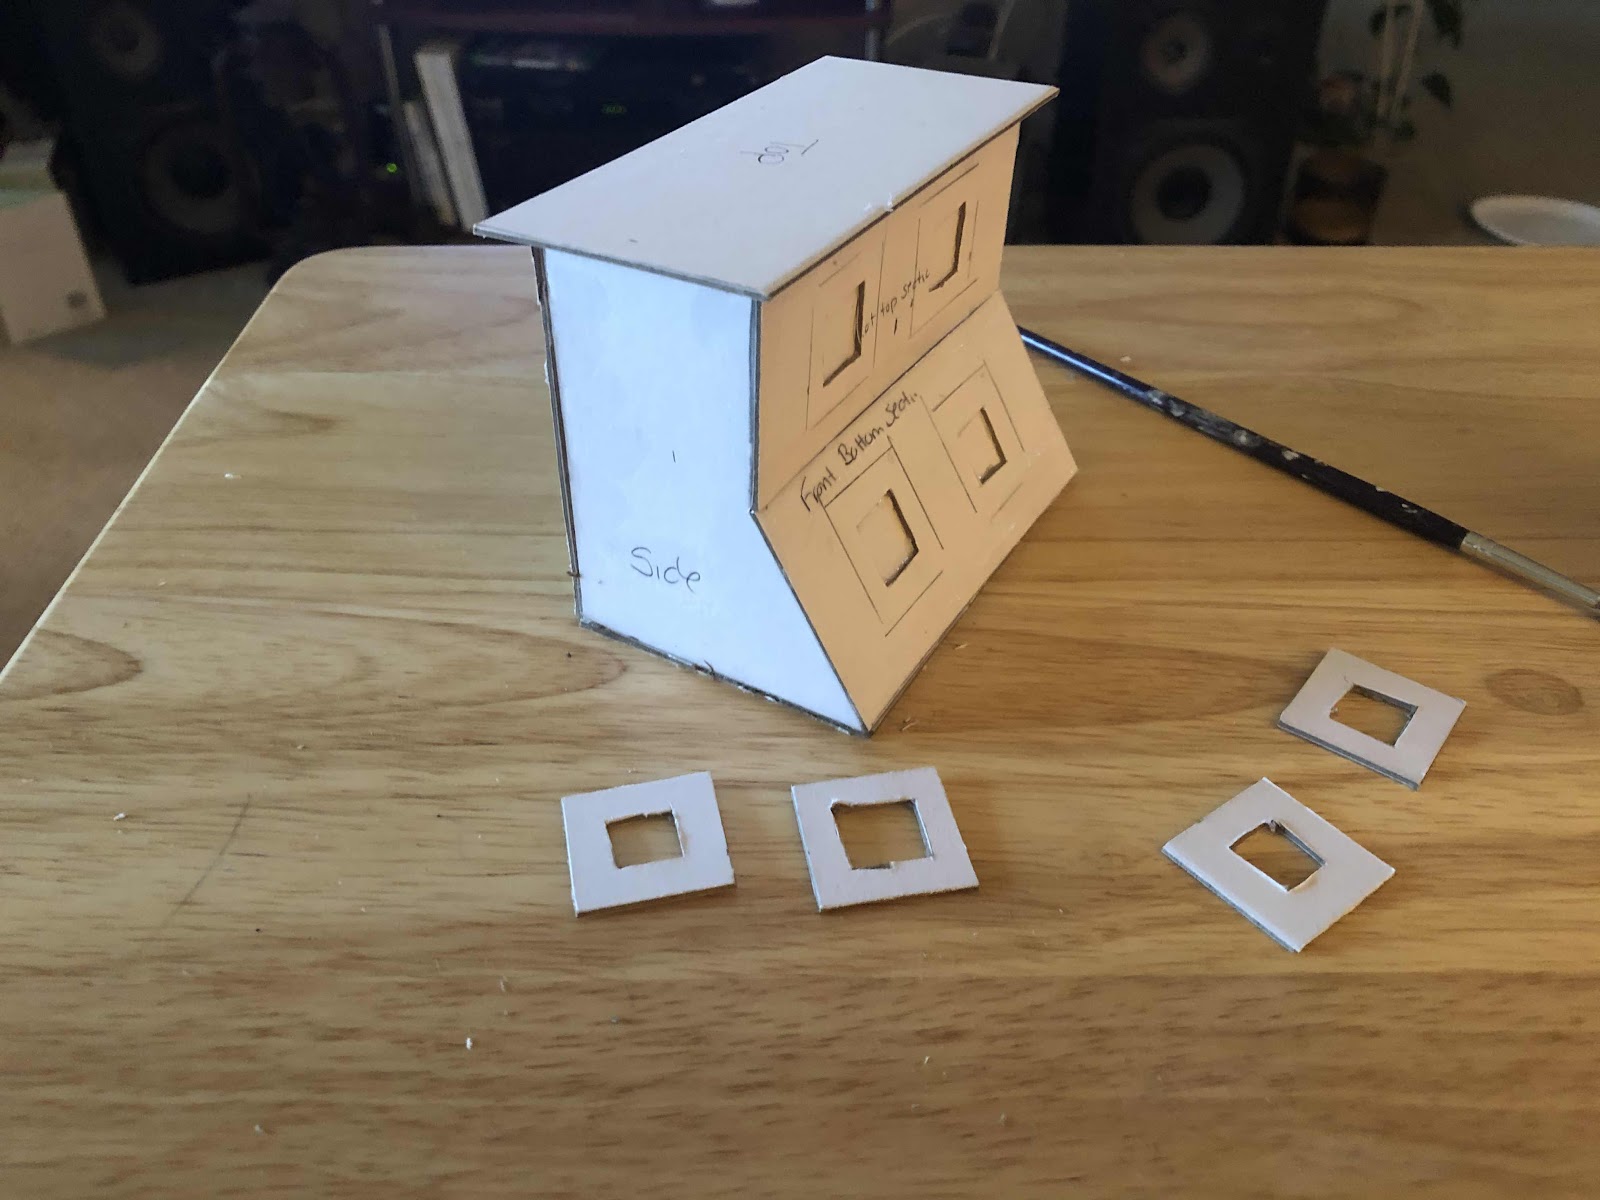
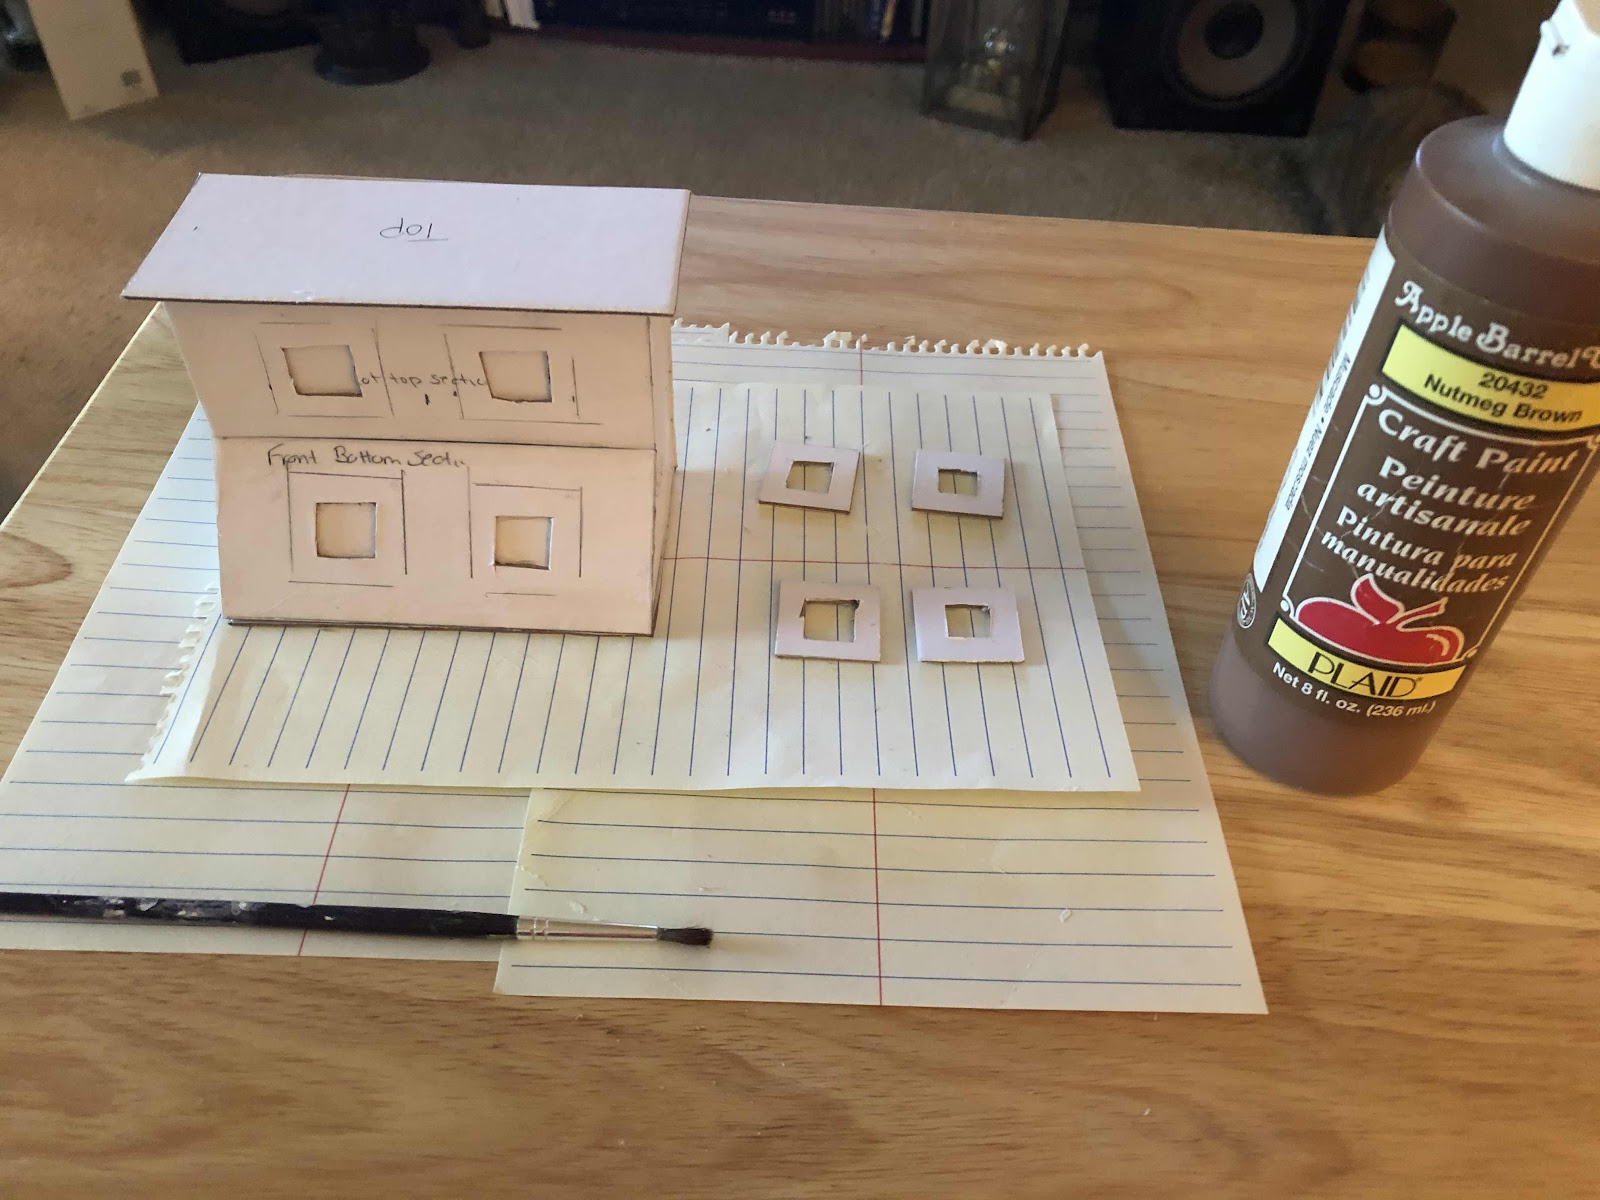
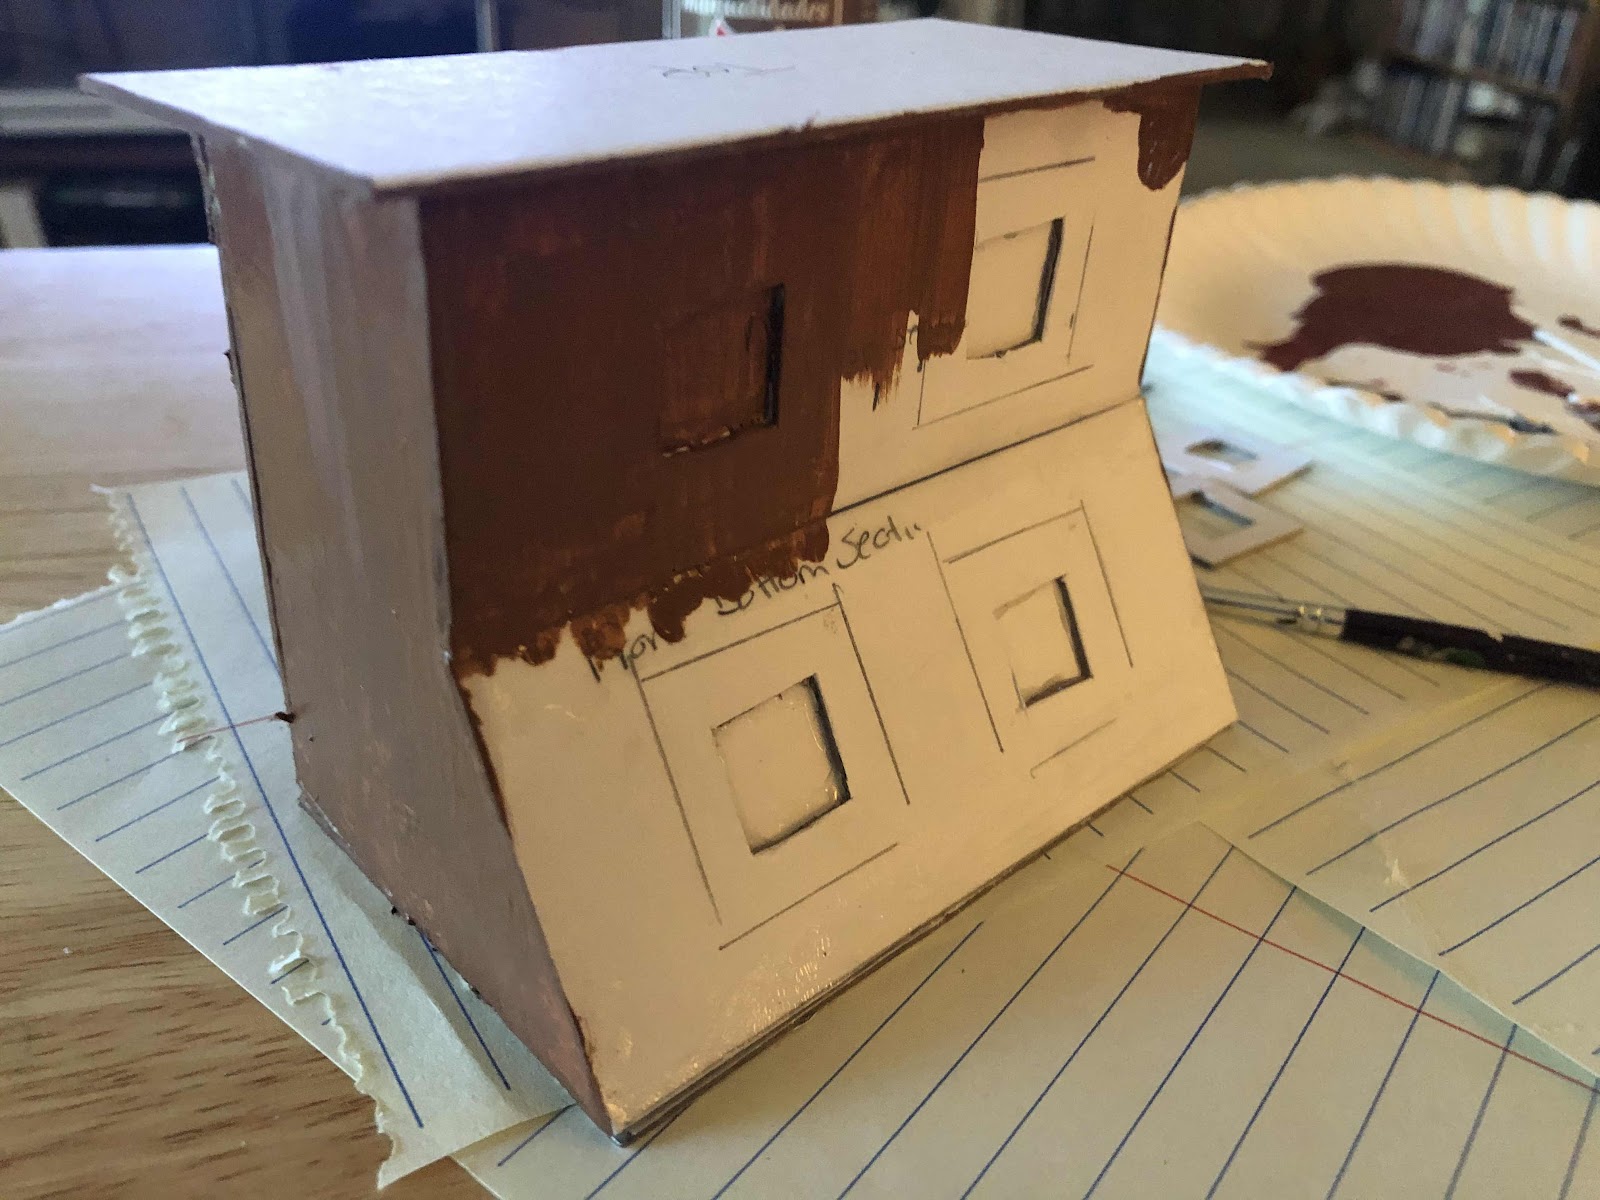
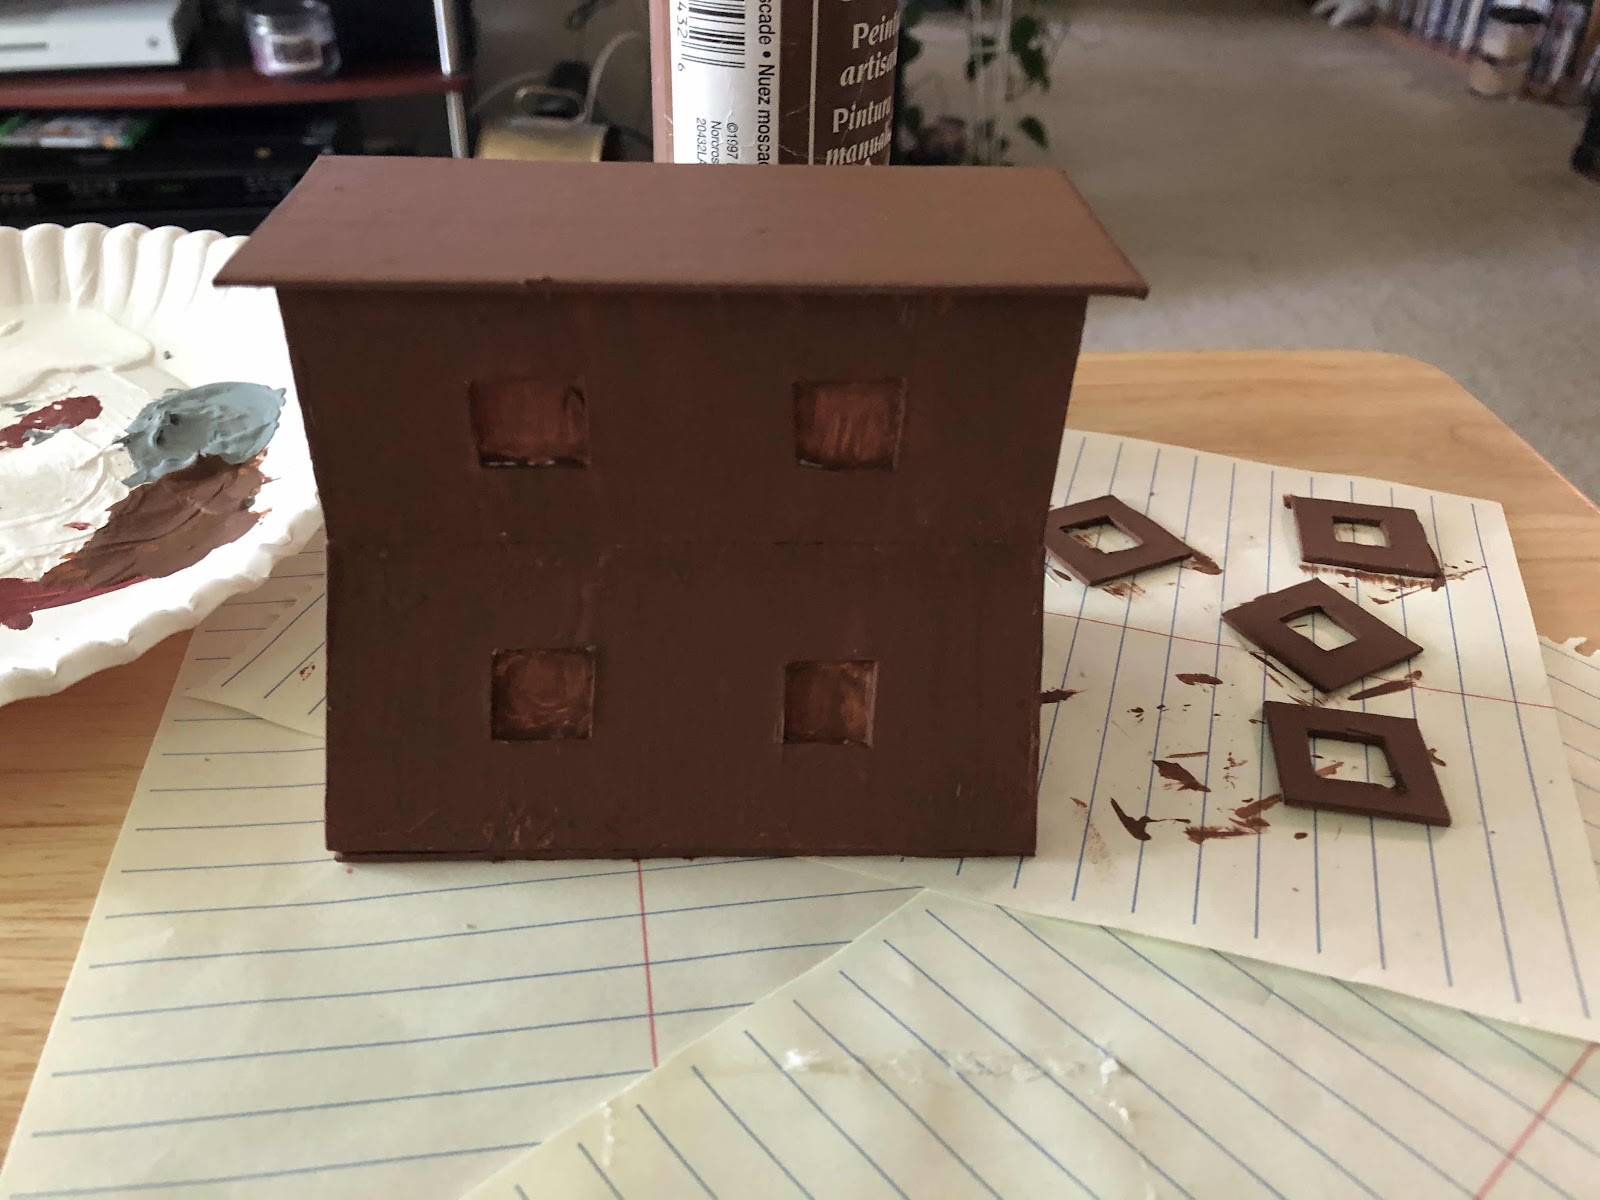
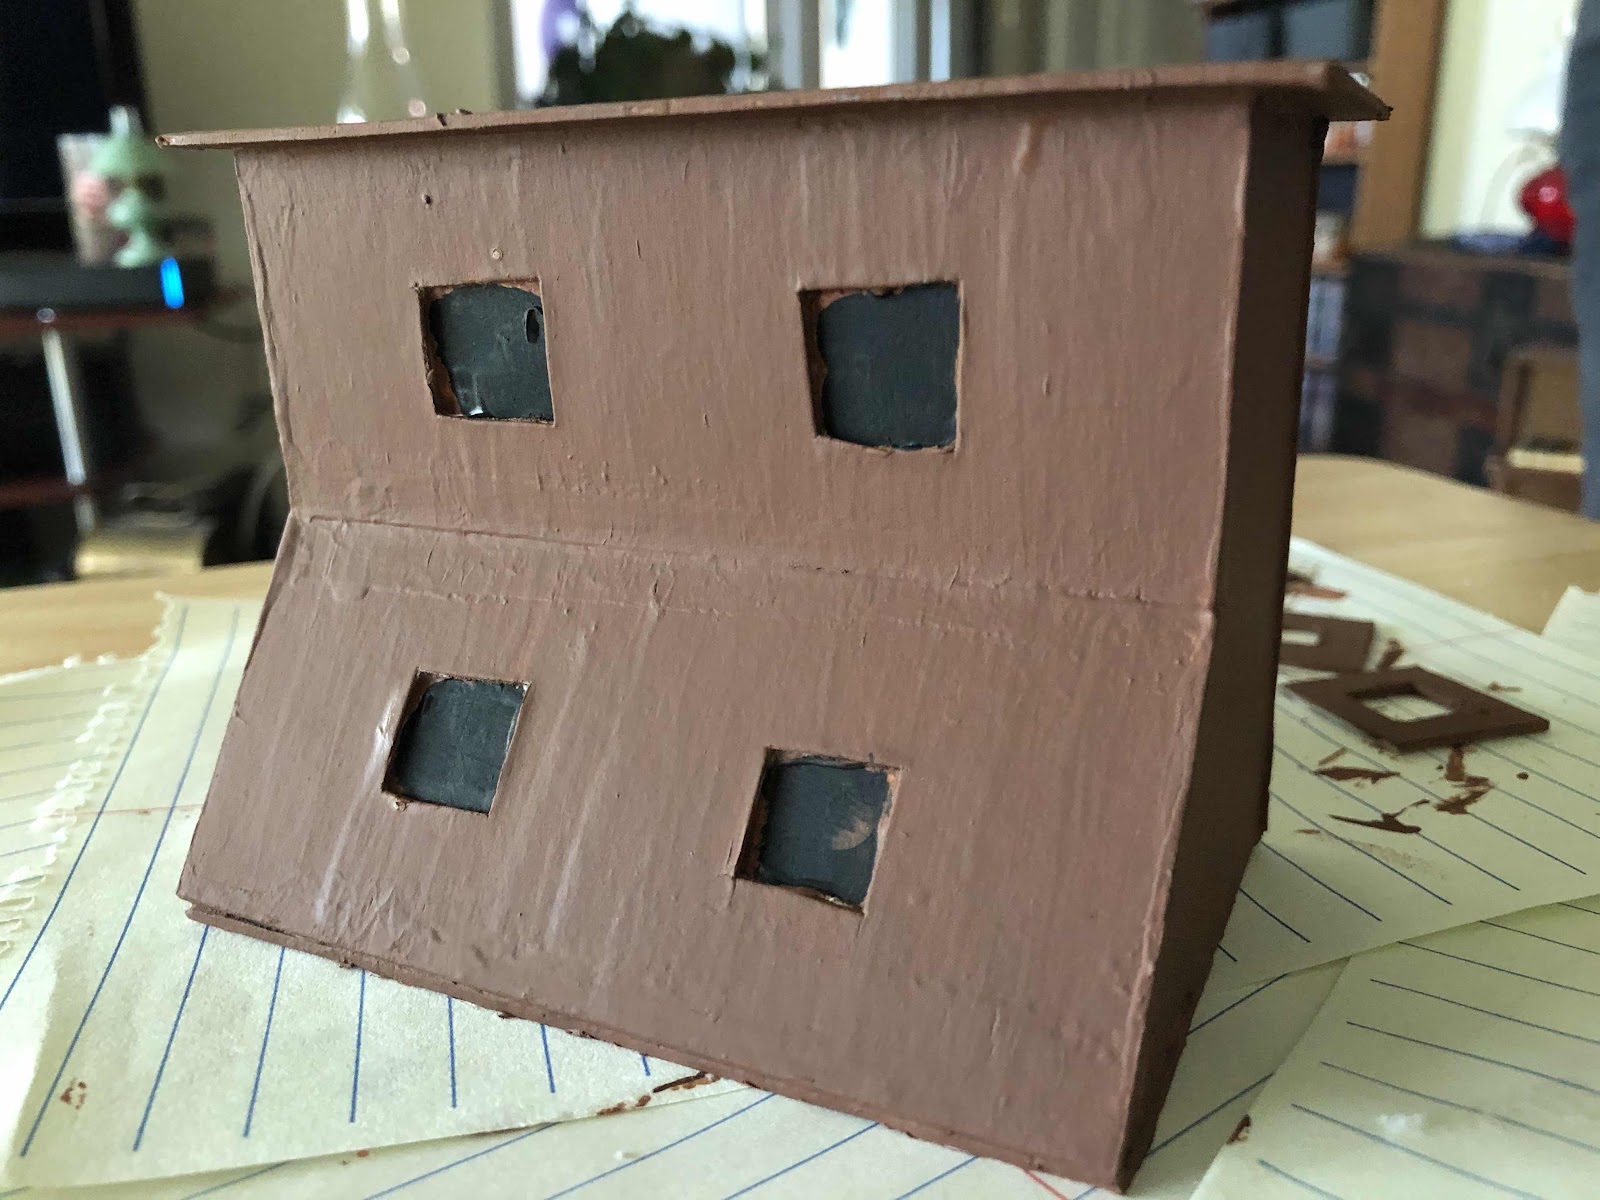
I measured the space where I thought the counter would be placed to get a rough idea of my dimensions and I sat down with a paper and pencil and drew out a rough sketch of the pieces that I would need to cut.   My sketches were not at all fancy, as you can see they were done on notebook paper and not anything special.  But it was enough to give me dimensions and an idea of the necessary pieces to cut.
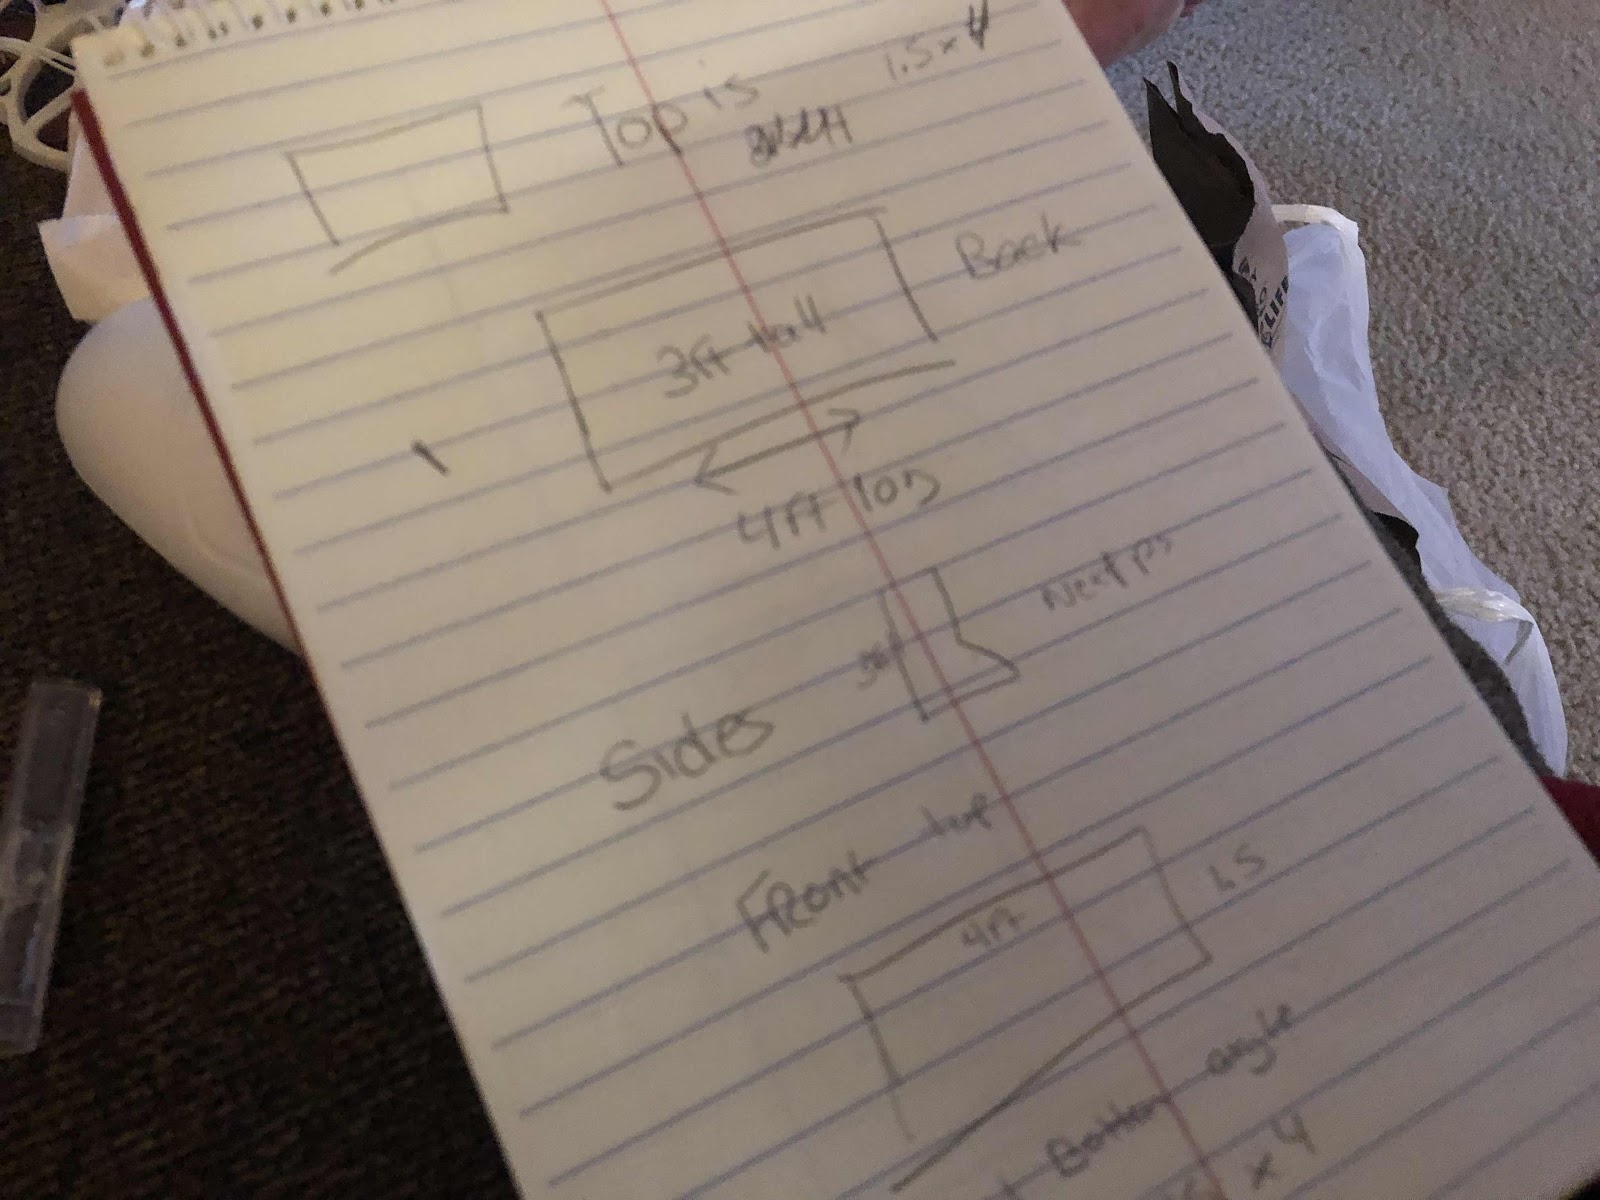
I decided to use Mat board.  It is really easy to work with and relatively inexpensive. And make sure you have a sharp blade on your knife to get a smooth cut.
Slowly I started to draw and cut the pieces that I had sketched out earlier.

I made sure to label each piece as I cut it and eventually I had every piece cut.


It was time for the moment of truth and glue!   Did my measurements work?  Did the piece of furniture look anything like my inspiration picture?   I carefully glued my pieces together.  I did not put the drawer fronts on.  I  wanted to paint them first.  I knew that I was planning on putting small beads in the recessed areas and a little window on the front sections.  I knew that it would be MUCH easier if I painted first.

I chose to paint my piece in a brown paint.  I was trying to go for a wood grain.   I luckily had some brown paint in my stash, so I pulled it out.
And I got to work!

It took a couple coats of paint to make it nie and smooth and uniformly brown.
My last bit of painting was to paint the recessed areas black.  I wanted to give the allusion of more space behind the beads, so wanted it to be black.
From here the project was mostly done.  I just had to glue some small seed beads into the recessed areas glue a window on the drawer front and glue them in to place. I did attempt to make more of a wood grain.  It was passable for my first attempt.  I will have to work more on that technique for sure!

Overall, I am happy with my general store counter and can't wait to really put it to use in the stonehouse quilt shop!


Monday, March 30, 2020

Bathroom fun in the McKinley by Greenleaf

Every house needs a bathroom and a miniature house is no different!   I had already decided to complete the McKinley house, by Greenleaf in the time frame of the 1950’s....give or take.   For that reason I was super excited when I found a little porcelain bathroom set at an antique shop.  Even better it was only five dollars!   I couldn’t wait to get home to put it into the house.  

I experimented with a couple of different floor plans for the bathroom....it was a fun process. I really pondered!   And the best part?  It’s a dollhouse...if I don’t like it at a future date, I can easily change it up!!

I have shared that the room was done...or rather mostly done here !  

Two years passed and I still love the bathroom!  But i decided that it was time to do a video of the room!!   So here you go!!!


Saturday, March 14, 2020

Log cabin tour

My very first dollhouse!   It was my childhood dollhouse that was carefully stored away until I was in my 40’s.   And that is when I pulled it out and actually realized my dream of completing an ‘adult’ dollhouse!

I set the era for this miniature dollhouse in the mid 1800’s.   It is a log cabin and essentially just a big room!   It was a natural for a rustic historic house! 

  Ok, and some of my fascination with making this a mid 1800’s build could have been my childhood love of the Little House on the Prairie books!  I’m sure that is where and why I built a rope bed with a trundle bed!   Afterall, Mary and Laura Ingalls slept on a trundle bed in the Big Woods!!!

I had a great time with this build. I learned a lot and fell in love with the hobby!!

So let me give you the log cabin tour!