So today we are going to talk about the Stonehouse Quilt Shop. The last time I checked in on this progress I was still working on putting up the stone on the outside walls. But boy oh boy has more happened since then.
I decided that an old stone house definitely needed to have hard wood floors. So I jumped back into laying my flooring in the house. I again chose to do craft sticks (akin to a popsicle stick) to lay my floor. It was/is tedious work.

Once the flooring was laid, I immediately set about for the next step. What was the next step? The sanding process. I learned very early on that the craft stick method works great...but will not look realistic until it has been sanded. So out came the sandpaper!

You can see the difference in appearance between the floor that I was sanding and the unsanded floor below. It makes a HUGE difference and is a step you do NOT want to skip!

Once again when I finished that step I didn't slow down one bit. I pulled out my stains and I got to work! I started with a pre-stain and then decided upon a Cherry stain. It looks fantastic!

Next up was the steps. I was lucky in that I had purchased a set of stairs years earlier. I had actually purchased them for the log cabin project...but that house was not at all scale, so the stairs just sat in storage....until now!
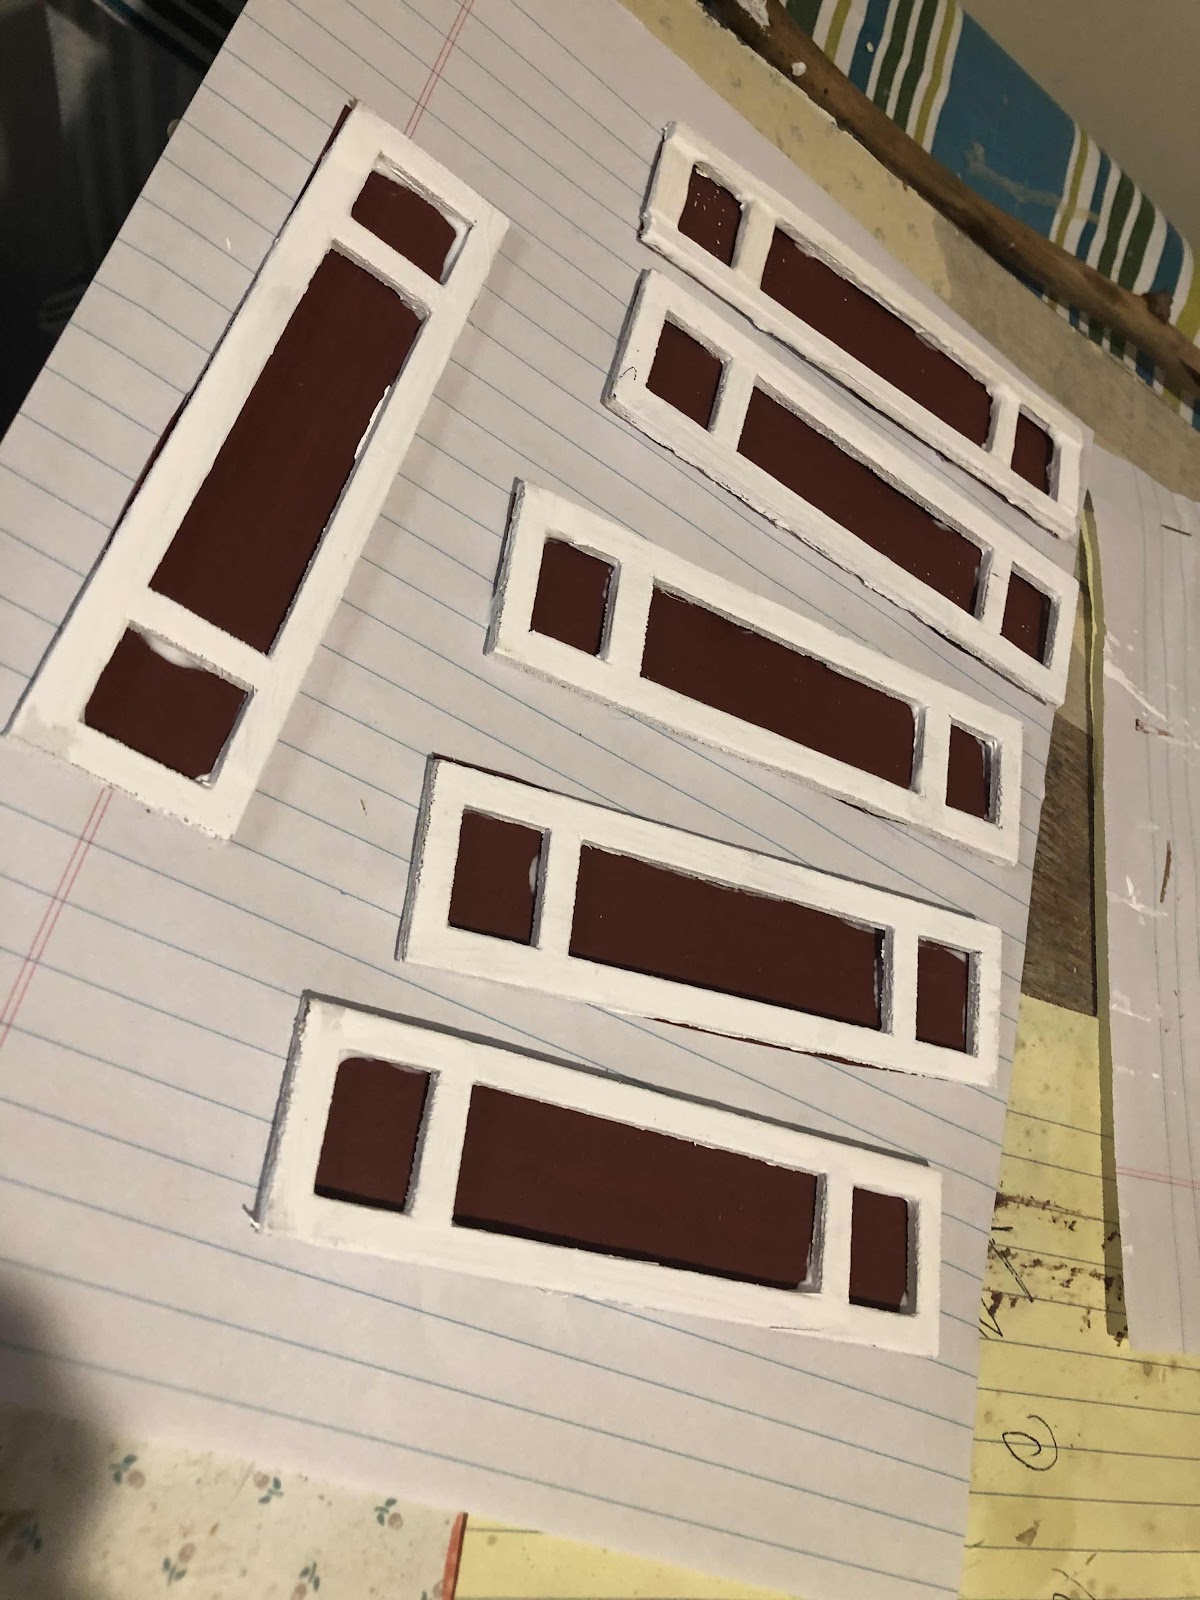
I immediately turned to the trim work. I first had to recreate a few pieces that were missing when I purchased this house. Not a problem....a little bit of glue and some pieces of wood and I was in business.

Paint was also needed. So that was a quick fix also!
I was so excited to hang my shutters and ran into a problem. I should have put the shutters up before the stone due to the difficulty of gluing the shutters to the uneven stone surface. I had to go to the drawing board and really think.
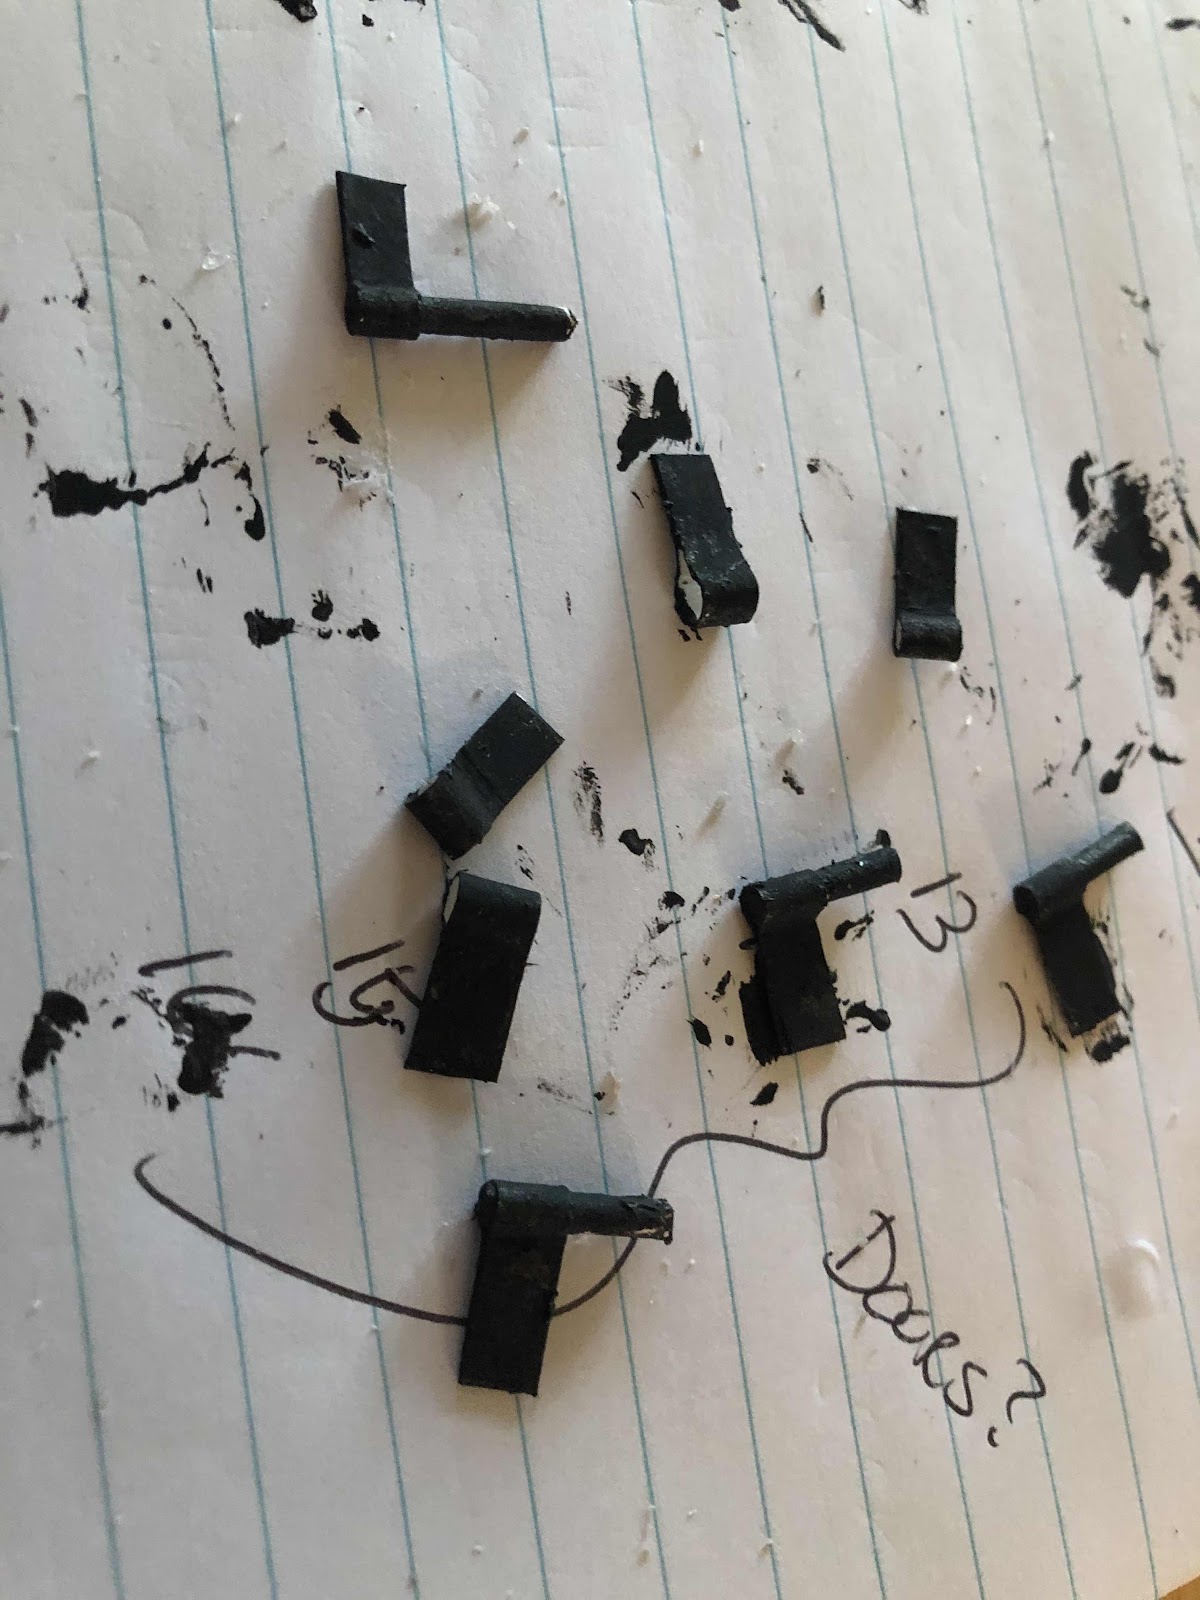
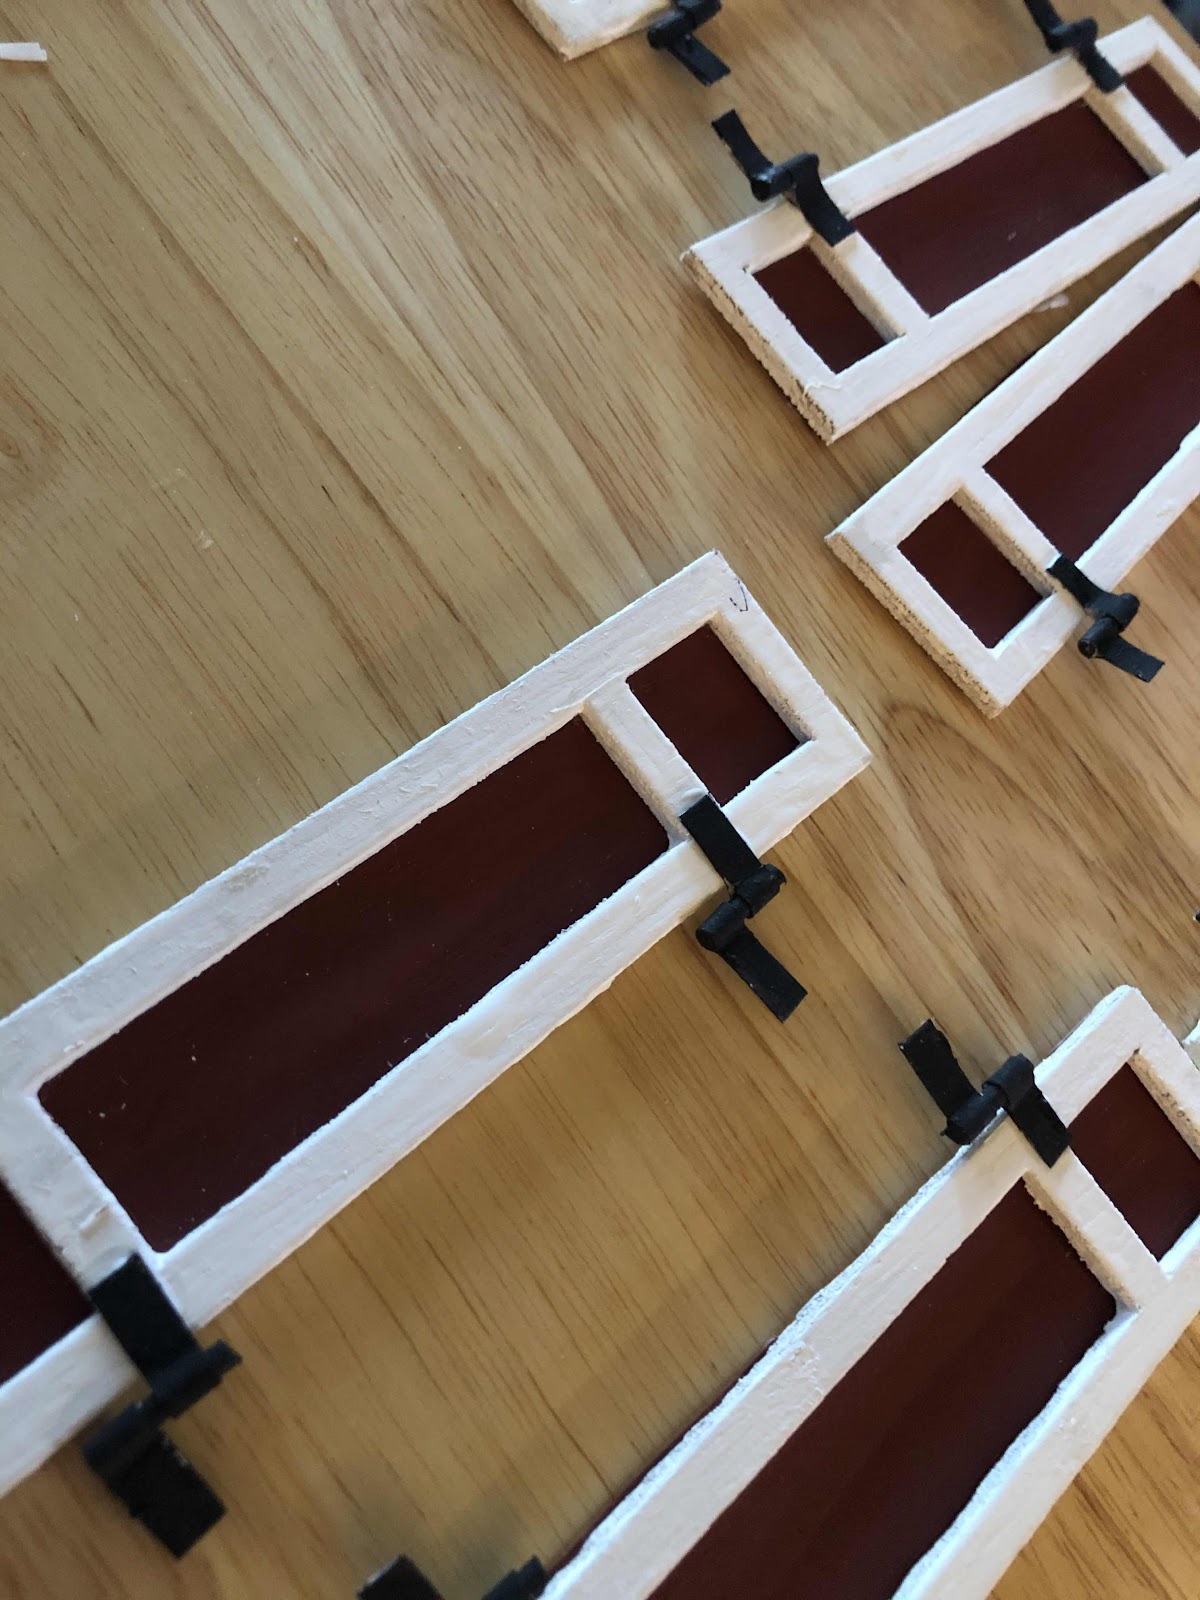
I did the only thing I could. I decided to make simple hinges out of Q-tips and posterboard! I crossed my fingers and hoped that they would work. But first I needed to paint them!
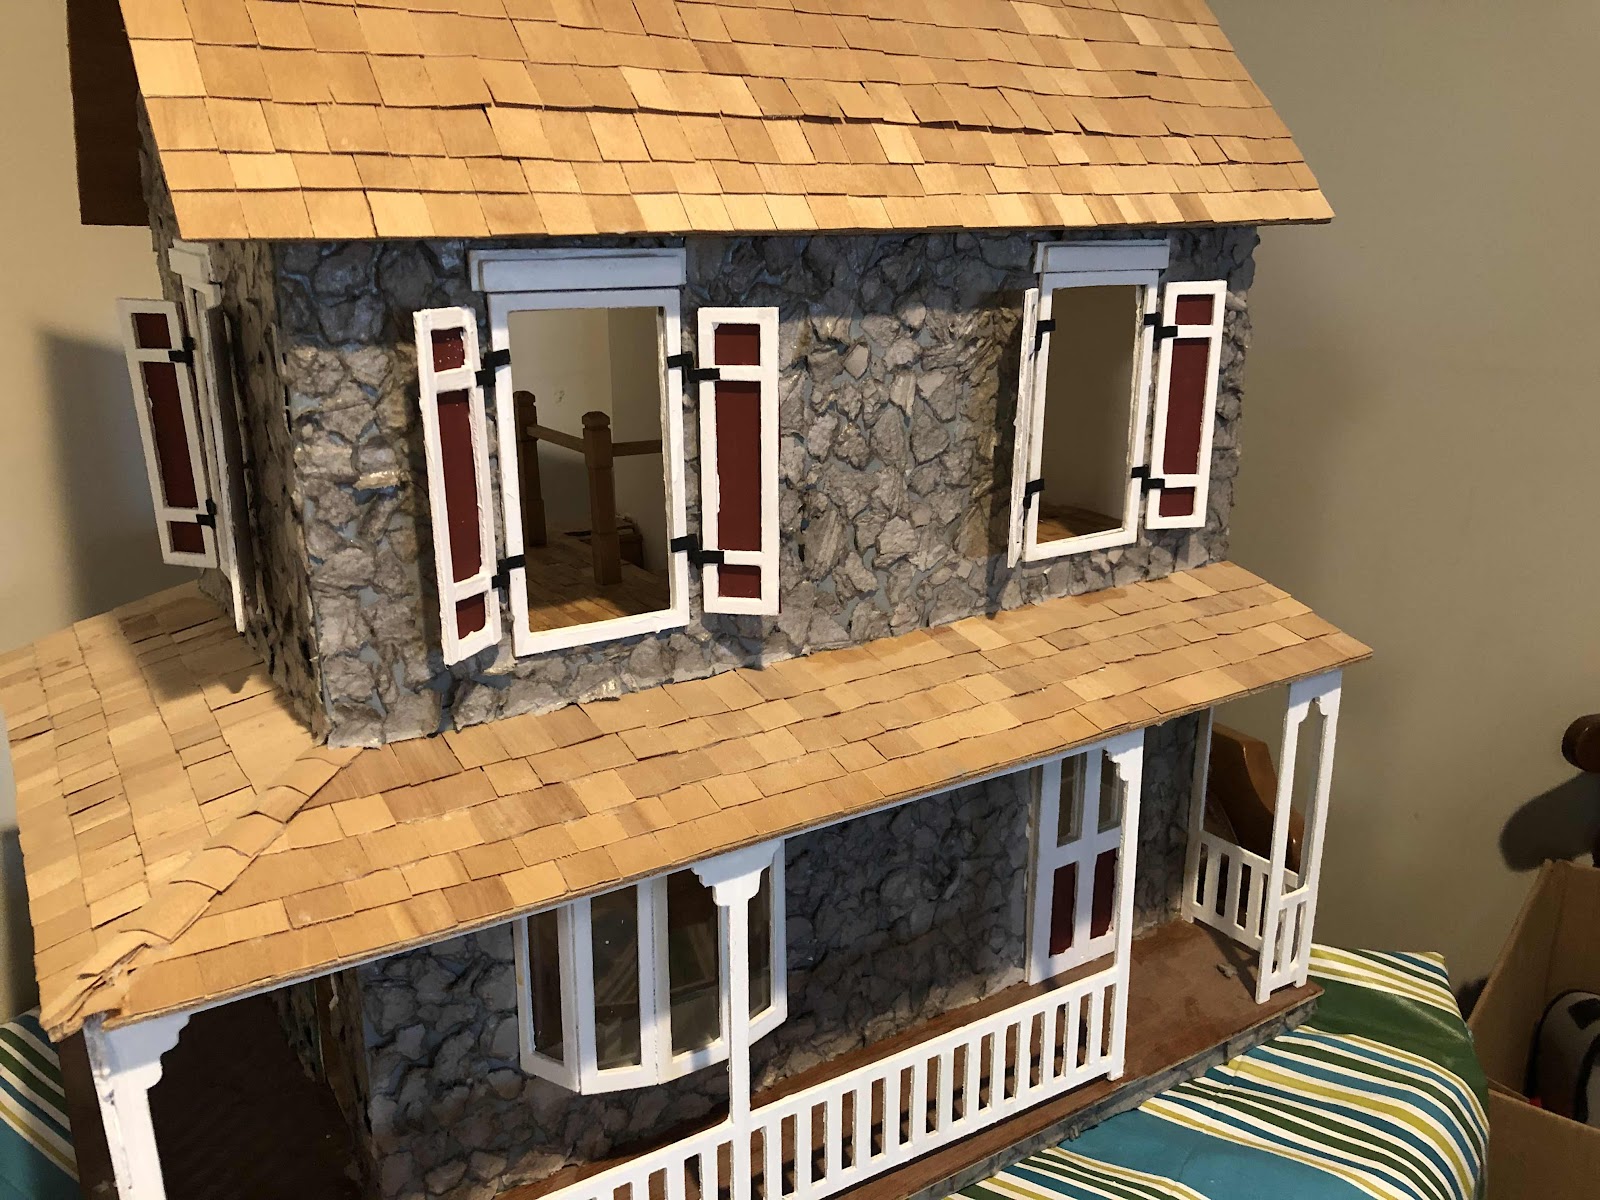
And finally it was time to hang the shutters.
And boy was I giddy with excitement when I saw the finished project. The hinges and three dimensional appearance makes it look SOO much more realistic!!!!
Wow.....what an update! That is a whole lot of miniature progress for one post!!!!! I laid, sanded and stained floor, installed a staircase, recreated some shutters, did some painting and made hinges and hung some shutters! I am even more excited about the next steps. I still have more trim to hang and then I will be able to start focusing on the interior......I have some ideas....
No comments:
Post a Comment